


All Products
-
Acoustic Wood Panels
-
Acoustic Wood Slat Panels
-
Perforated Acoustic Wood Panels
-
Micro Perforated Acoustic Panels
-
Grooved Acoustic Panels
-
Art Acoustic Panels
-
Acoustic Wood Ceiling Panels
-
3D Decorative Wall Panels
-
Laminate Wall Panels
-
Fabric Acoustic Panels
-
Wood Acoustic Diffuser Panels
-
Polyester Acoustic Panels
-
Sound Proof Mat
-
Acoustic Booth
-
Acoustic Wood Wool Panels
Micro-perforated Acoustic Panel Perfect Blend of Functionality and Aesthetics


| Place of Origin | Guangzhou,china |
|---|---|
| Brand Name | WINEGO |
| Certification | CE,FSC,France A+ |
| Model Number | PAV2.2/0.5-12/15 |
| Minimum Order Quantity | 100 SQM |
| Packaging Details | W230m*L2430mm*T130mm,27.75kg per pack.LOGO service for big order |
| Delivery Time | 2 weeks |
| Payment Terms | TT :50% deposit Balance before shipment |
| Supply Ability | 10000sqm per week |
Product Details
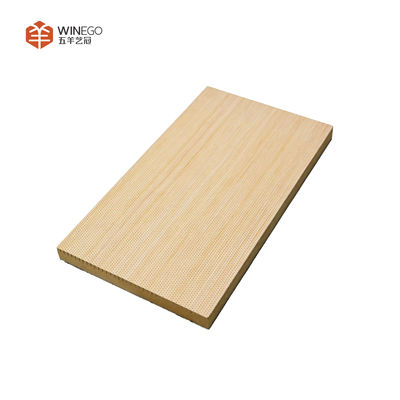
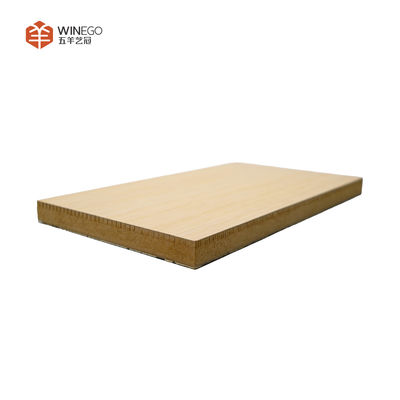
| Sound Absorption | Reduces Echo And Reverberation In A Space | Material | MDF |
|---|---|---|---|
| Size | W600/1200*L600/1200/2400*T15/18mm | Finish | Veneer/Melamine/HPL Fire-proof/PU Paint |
| Nrc | 0.85 | Installation | Easy To Install With Adhesive Or Screws |
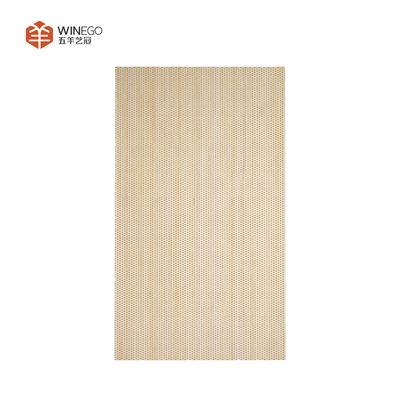
| Perforation Pattern | Micro | ||
| Highlight | Micro Perforated Acoustic Panel,Micro-perforated Acoustic Panel,Fire-proof Micro-perforated Acoustic Panel |
||
Product Description
Micro-perforated Acoustic Panel Perfect Blend of Functionality and Aesthetics
Description:
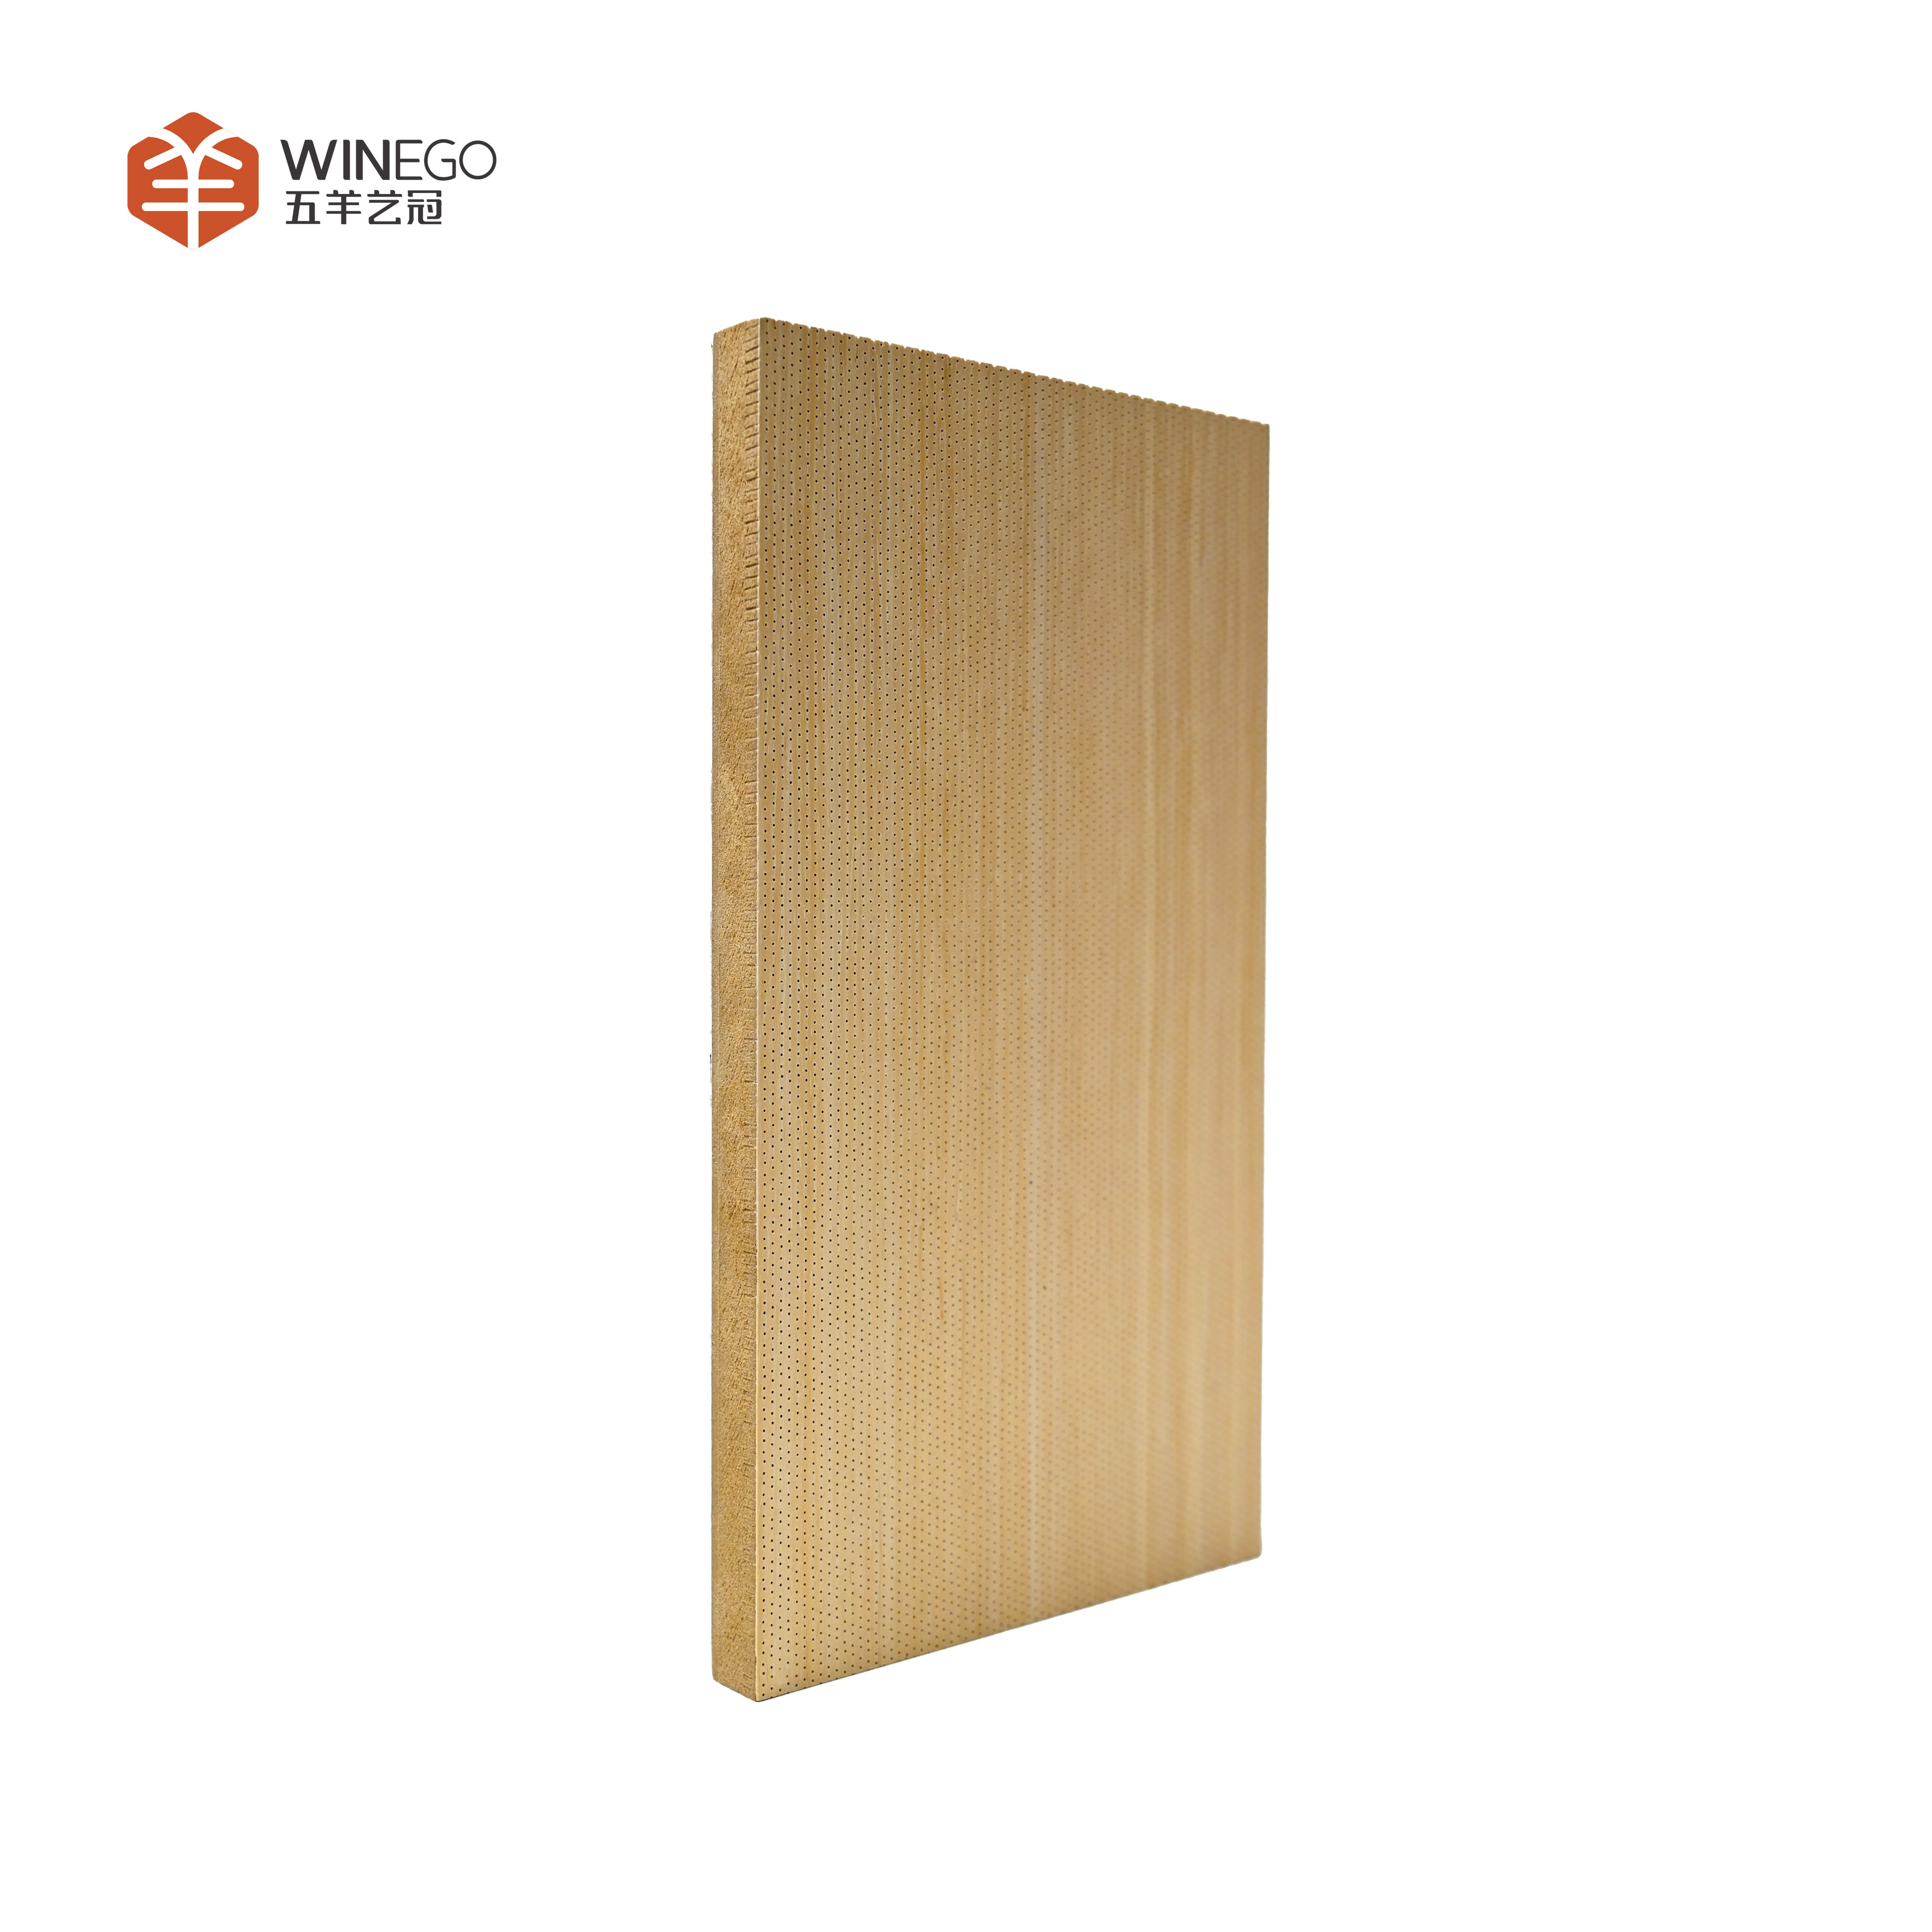
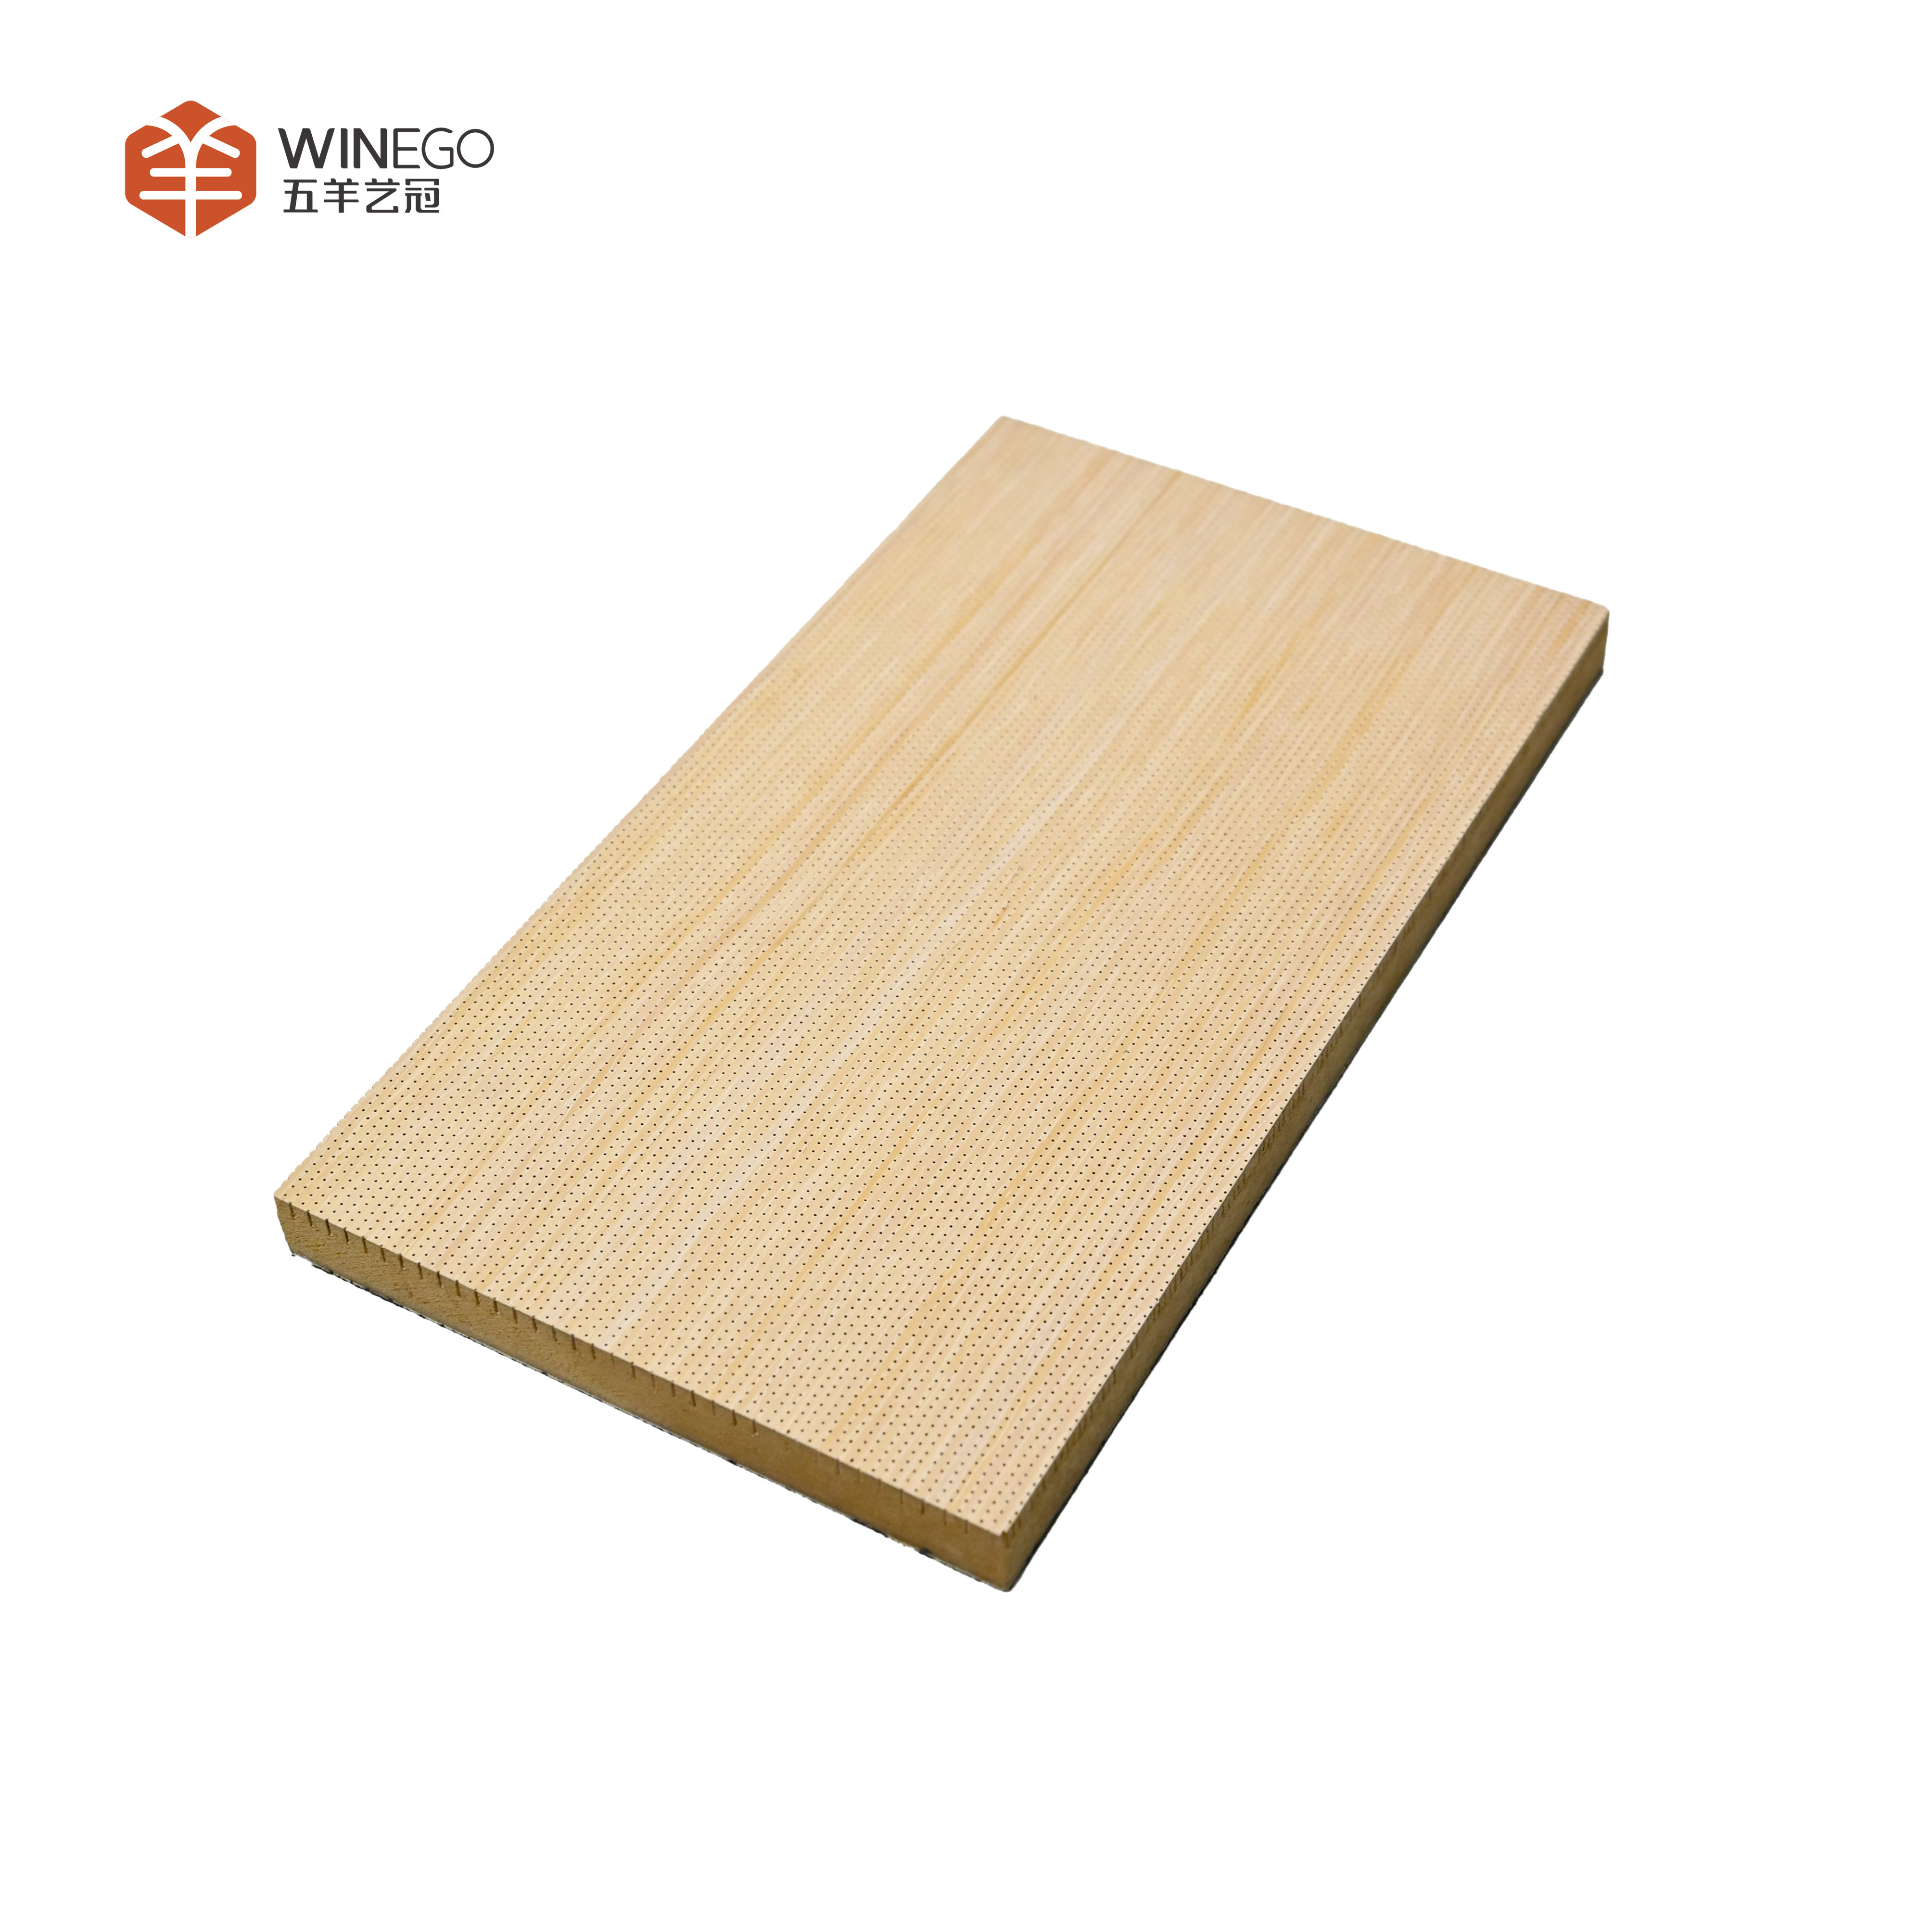
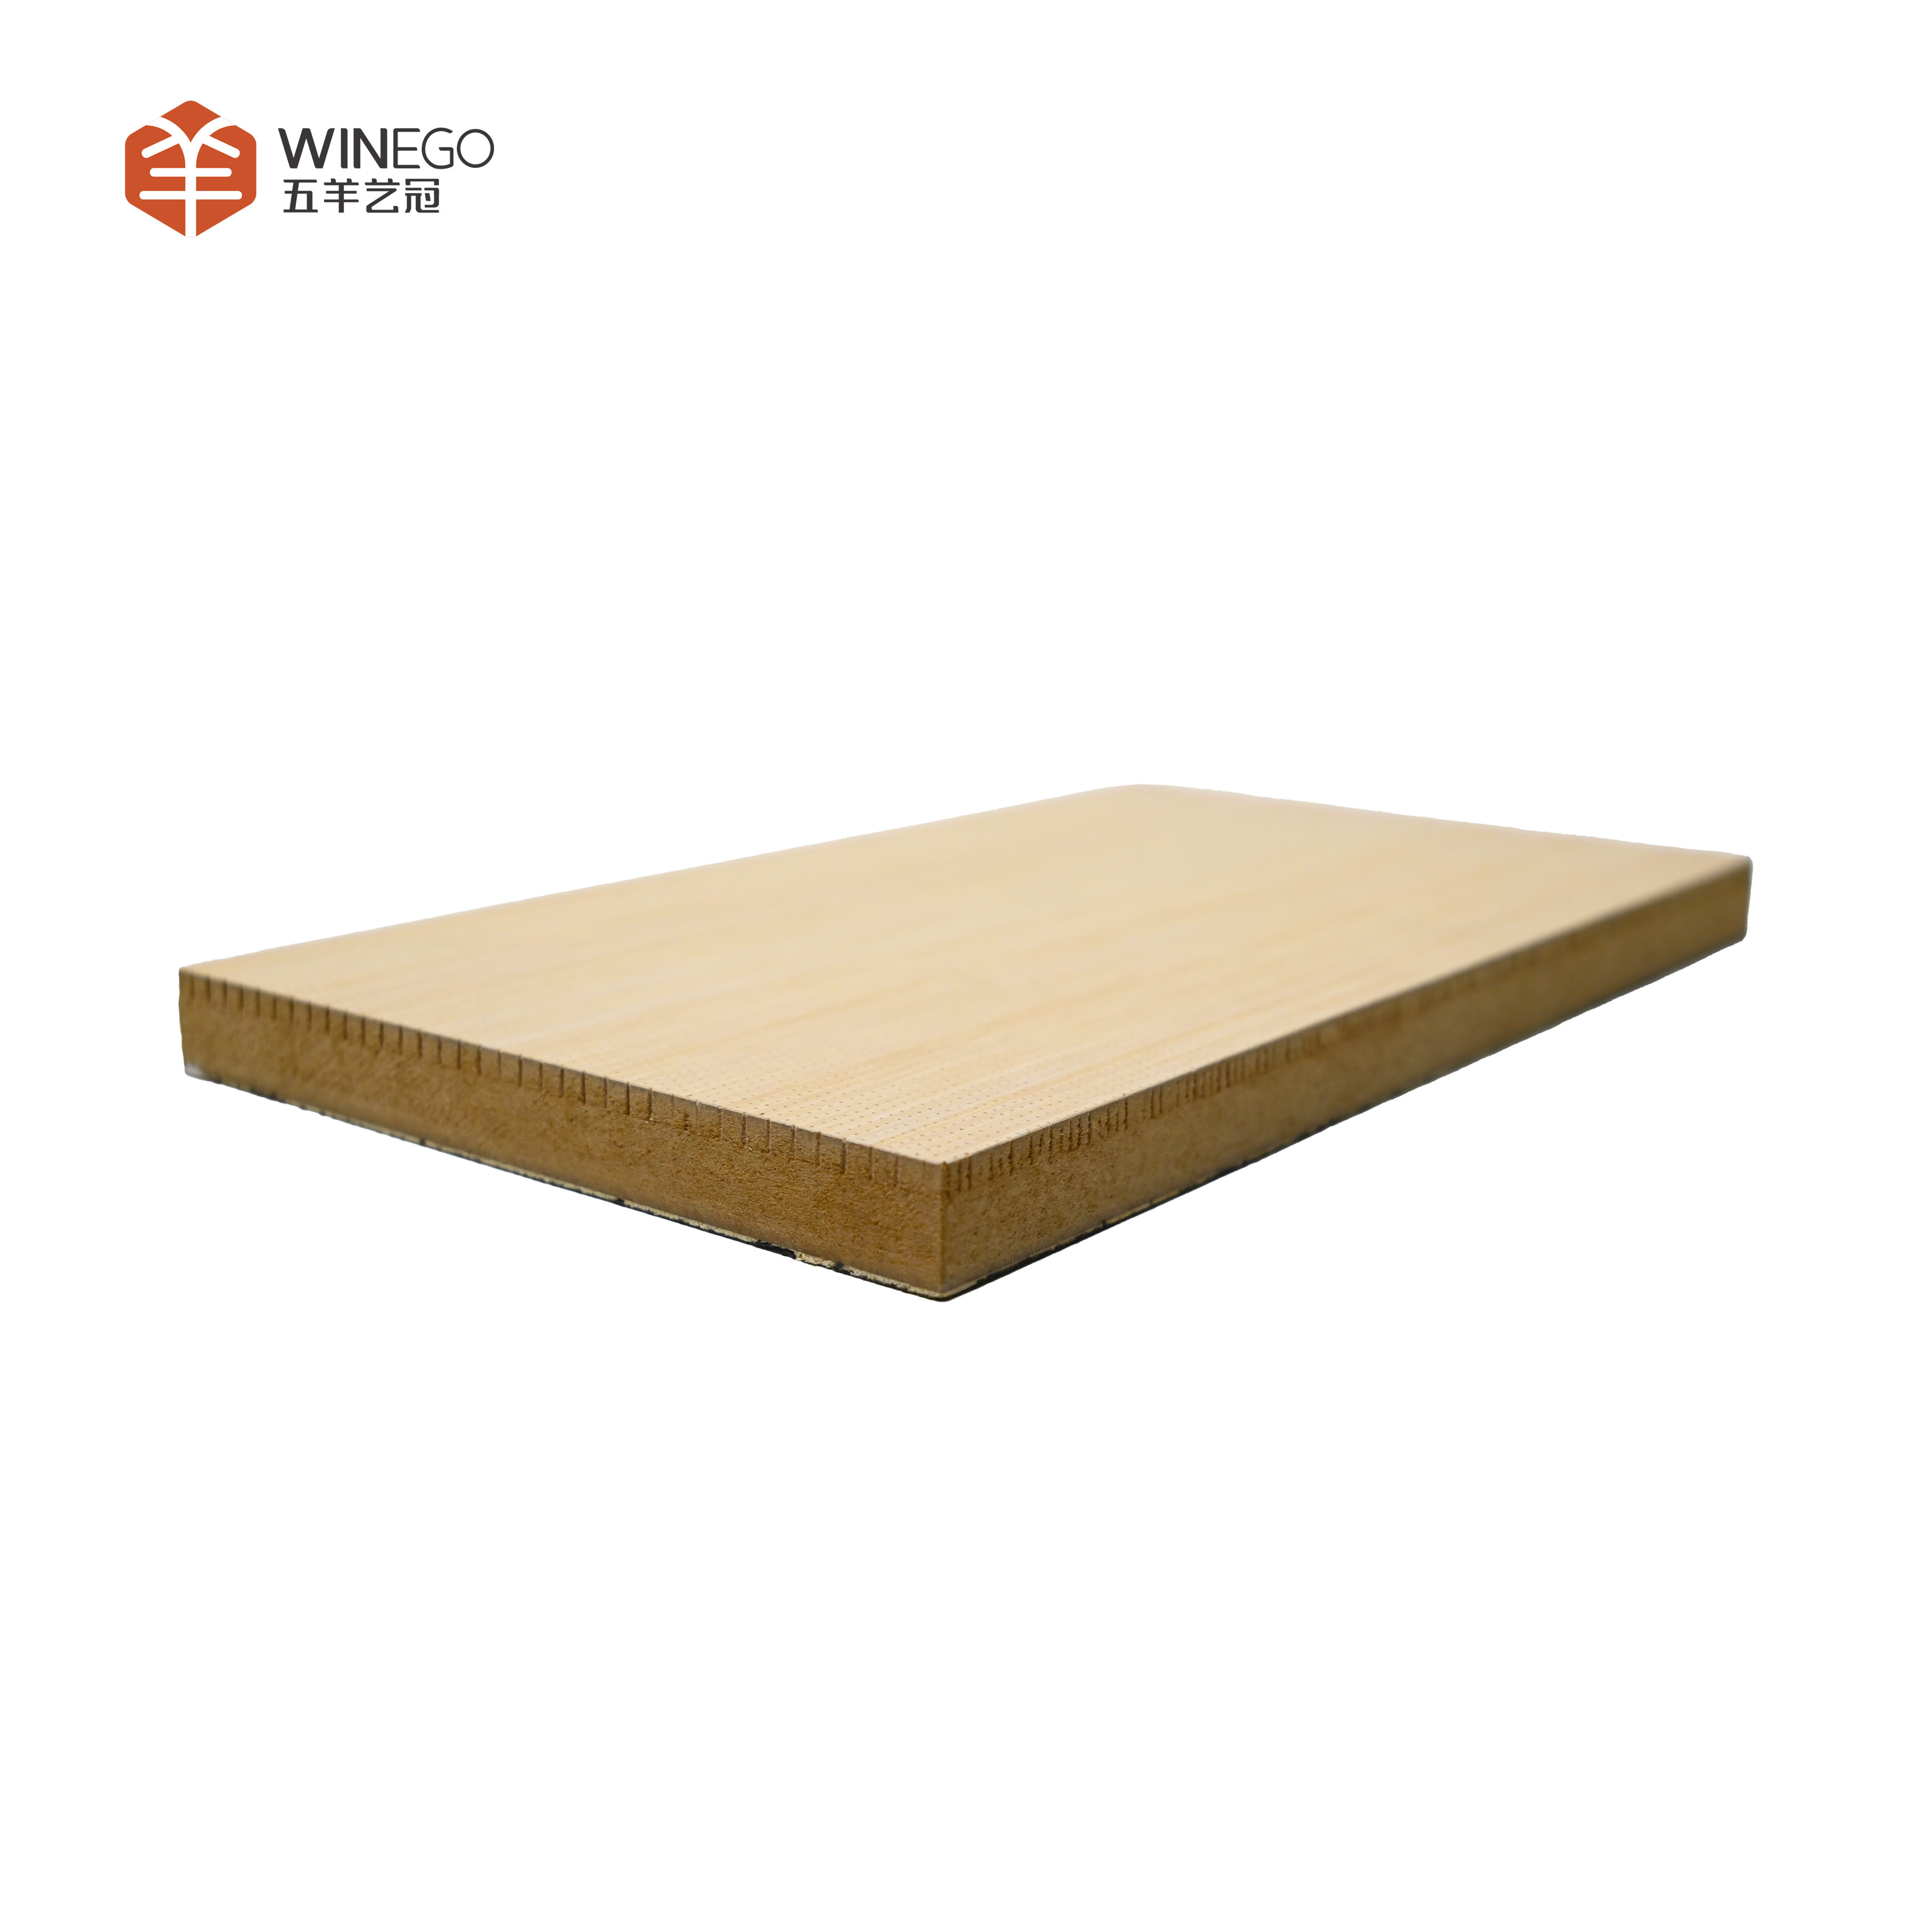
The micro-perforated acoustic panel is a top-tier solution for sound absorption that blends high performance with visual elegance. Its surface is designed with micro holes (0.4 to 1mm) combined with back perforations, forming a Helmholtz resonance system that efficiently absorbs sound in the mid and low-frequency ranges. Constructed from high-density board, it is available in various finishes to complement diverse design styles. Suitable for residential and commercial environments, this panel enhances acoustic comfort while adding aesthetic value. Additionally, its eco-friendly and fire-resistant qualities make it an excellent choice for modern and sustainable interiors. Whether used to create a serene home setting or improve acoustic quality in busy workspaces, this panel offers both superior functionality and refined design.
Feature:
Effective Noise Control: Helmholtz resonance system for superior sound absorption.
Aesthetic Options: Multiple finishes to match any decor.
Eco-Friendly: Safe and sustainable materials.
Durable Construction: Resistant to physical impact.
Versatile Application: Suitable for walls and ceilings.
Specifications:
| NAME | Super Micro-Perforated Acoustic Panel |
| FINISH | Veneer/Melamine/HPL fire-proof |
| BASE MATERIALS | MDF/A grade MGO/Solid wood |
| MODEL |
PAV2.2/0.5-12/15 |
| Size |
W590/1200*L590/1200/2420*T15/18mm |
| environmental protection | E1 |
| warranty | 2 years |
| INSTALL | Keel/Nail gun |
| MIN.ORDER | 100 SQM |
| PACKAGE DETAILS |
W200mm*L2400mm*T 15mm: 6 pieces per pack,the size of the single package is W230m*L2430mm*T130mm,27.75kg per pack. W1200mm*L1200mm*T 15mm: 4 pieces per pack,the size of the single package is W1225mm*L1225mm*T100mm,48.8kg per pack. LOGO service for big order |
| Delivery time | 2 weeks |
| Original place | Guangzhou,china |
| Payment term |
TT :50% deposit |
| Additional service | OEM |
| NRC | 0.8 |
| Certificate | CE,FSC,France A+ |
| Brand | WINEGO |
| Project Solution Capability | Project Design,3D model design,Graphic design,Material Production,Shipping and Deliver |
| Design Style | Modern |
| After-sale Service | Online technical support,Return and Replacement,Installation Instruction |
![]()
![]()
![]()
![]()
![]()
![]()
Wall Installation Process:
Wall Installation Using Wood Battens
Step 1: Secure the wood battens onto the wall, ensuring that they are properly aligned and maintain a spacing of 400-600mm between each batten.
Step 2: Place fiberglass acoustic wool between the battens to enhance sound absorption.
Step 3: Fix the perforated acoustic panels onto the battens using a nail gun, making sure to slot the wooden slats into the side grooves.
Step 4: Continue installing the panels, ensuring a 3-5mm gap between them for proper alignment. Nail positions should be along the edges of the panels.
Step 5: Double-check the installation to confirm that everything is securely in place.
Suspended Ceiling Installation Options
Method A: Exposed Ceiling SC-E
-
Attach the L-hanger to the suspension rod and fix the T-type main tee, then clip in the cross tee and reinforce the corners.
-
Install the exposed ceiling panels.
-
Finalize and inspect the installation.
Method B: Tegular Ceiling SC-T
-
Connect the L-hanger to the suspension rod, install the T-type main tee, and insert the cross tee, ensuring the corners are secure.
-
Fit the tegular ceiling panels into place.
-
Complete and verify the installation.
Method C: Concealed Ceiling SC-C
-
Fasten the L-hanger using suspension rods and attach the main tee, followed by clipping in the cross tee and stabilizing the corners.
-
Install the concealed ceiling panels carefully.
-
Finish the process and check the final result.
Recommended Products