-
Acoustic Wood Panels
-
Acoustic Wood Slat Panels
-
Perforated Acoustic Wood Panels
-
Micro Perforated Acoustic Panels
-
Grooved Acoustic Panels
-
Art Acoustic Panels
-
Acoustic Wood Ceiling Panels
-
3D Decorative Wall Panels
-
Laminate Wall Panels
-
Fabric Acoustic Panels
-
Wood Acoustic Diffuser Panels
-
Polyester Acoustic Panels
-
Sound Proof Mat
-
Acoustic Booth
-
Acoustic Wood Wool Panels
Micro-perforated Acoustic Panel Advanced Soundproofing With Customizable Finishes
| Place of Origin | Guangzhou,china |
|---|---|
| Brand Name | WINEGO |
| Certification | CE,FSC,France A+ |
| Model Number | PAV2.2/0.5-12/15 |
| Minimum Order Quantity | 100 SQM |
| Packaging Details | W230m*L2430mm*T130mm,27.75kg per pack.LOGO service for big order |
| Delivery Time | 2 weeks |
| Payment Terms | TT :50% deposit Balance before shipment |
| Supply Ability | 10000sqm per week |

Contact me for free samples and coupons.
Whatsapp:0086 18588475571
Wechat: 0086 18588475571
Skype: sales10@aixton.com
If you have any concern, we provide 24-hour online help.
x| Sound Absorption | 0.8 NRC | Material | MDF |
|---|---|---|---|
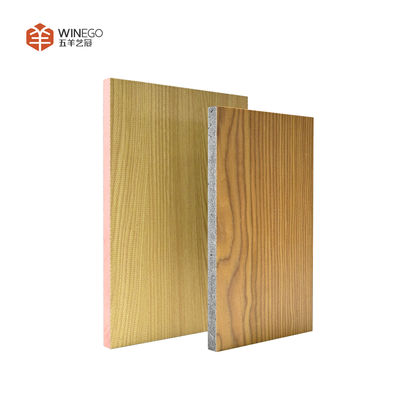
| Size | W600/1200*L600/1200/2400*T15/18mm | Finish | Veneer/Melamine/HPL Fire-proof/PU Paint |
| Type | Acoustic Panel | Packing | Carton |
| Acoustic Performance | Highly Effective | Application | Auditorium, Conference Room, Recording Studio, Home Theater |
| Highlight | Customizable Finishes Micro Perforated Acoustic Panel,Advanced Soundproofing Micro Perforated Acoustic Panel |
||
Micro-perforated Acoustic Panel Advanced Soundproofing with Customizable Finishes
Description:
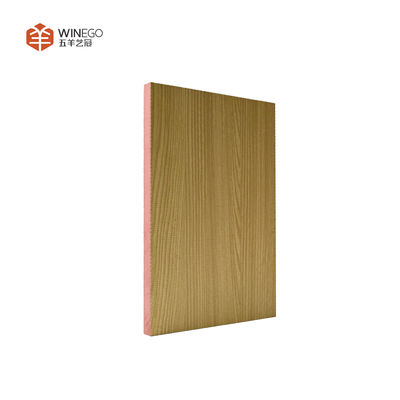
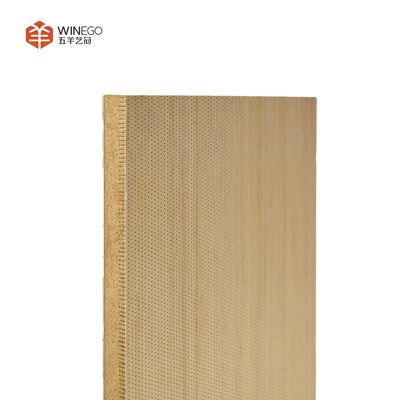
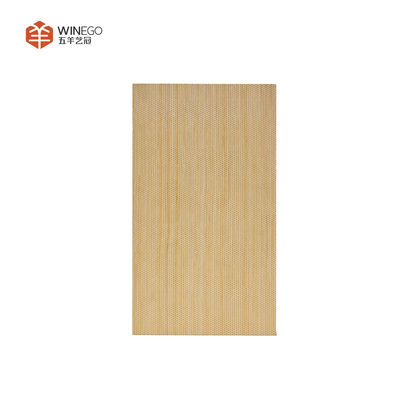
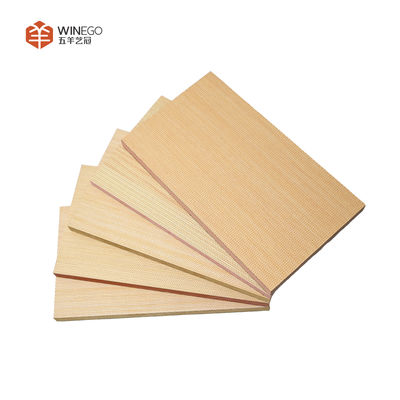
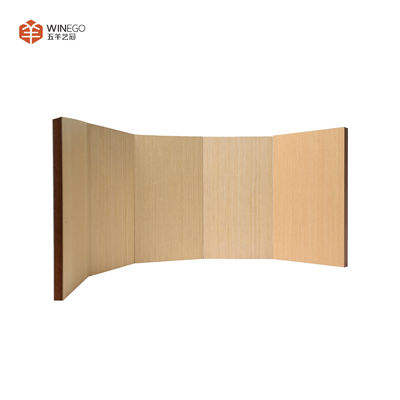
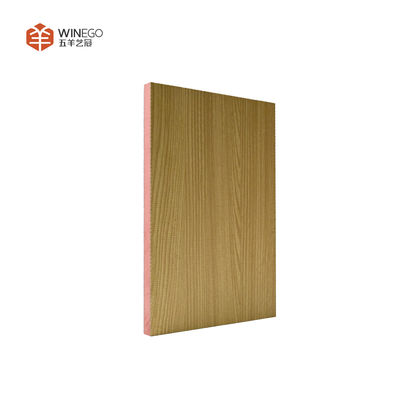
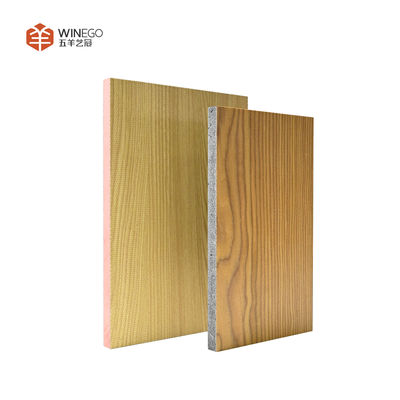
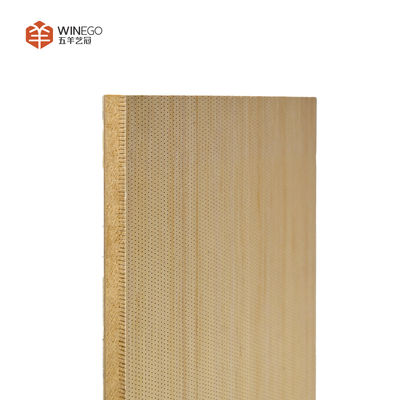
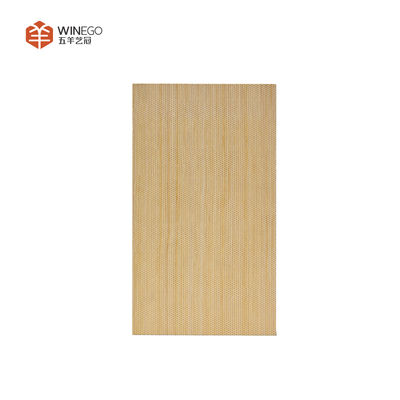
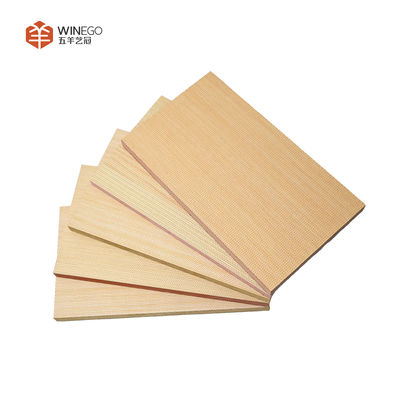
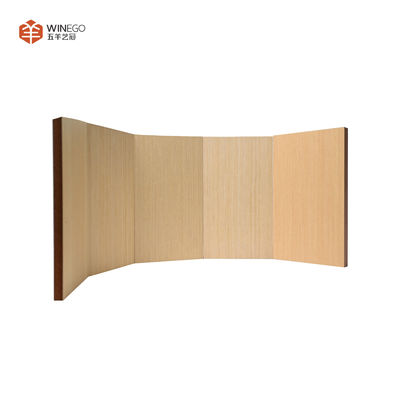
Our micro-perforated acoustic panel is designed to deliver advanced soundproofing with a touch of elegance. The front surface features micro holes (0.4 to 1mm) that work with rear holes to form a Helmholtz resonance system, effectively reducing noise in medium and low frequencies. Constructed from high-density board, it offers customizable finishes to match any interior design. Its eco-friendly and fire-resistant properties make it a safe and sustainable choice for any space. Whether for offices, homes, or public areas, this panel ensures optimal acoustic comfort and visual appeal. The panel's innovative design and customizable perforation patterns allow for precise tuning of sound absorption characteristics, making it ideal for a wide range of applications.
Feature:
Advanced Acoustics: Helmholtz resonance system for optimal noise reduction.
Customizable Finishes: Tailored to suit any aesthetic preference.
Eco-Friendly: Safe and sustainable materials.
Durable Design: Resistant to wear and tear.
Easy Installation: Quick and hassle-free setup.
Specifications:
| NAME | Super Micro-Perforated Acoustic Panel |
| FINISH | Veneer/Melamine/HPL fire-proof |
| BASE MATERIALS | MDF/A grade MGO/Solid wood |
| MODEL |
PAV2.2/0.5-12/15 |
| Size |
W590/1200*L590/1200/2420*T15/18mm |
| environmental protection | E1 |
| warranty | 2 years |
| INSTALL | Keel/Nail gun |
| MIN.ORDER | 100 SQM |
| PACKAGE DETAILS |
W200mm*L2400mm*T 15mm: 6 pieces per pack,the size of the single package is W230m*L2430mm*T130mm,27.75kg per pack. W1200mm*L1200mm*T 15mm: 4 pieces per pack,the size of the single package is W1225mm*L1225mm*T100mm,48.8kg per pack. LOGO service for big order |
| Delivery time | 2 weeks |
| Original place | Guangzhou,china |
| Payment term |
TT :50% deposit |
| Additional service | OEM |
| NRC | 0.8 |
| Certificate | CE,FSC,France A+ |
| Brand | WINEGO |
| Project Solution Capability | Project Design,3D model design,Graphic design,Material Production,Shipping and Deliver |
| Design Style | Modern |
| After-sale Service | Online technical support,Return and Replacement,Installation Instruction |
![]()
![]()
![]()
![]()
![]()
![]()
Wall Installation Process:
Wood Battens Installation System
-
Step 1: Secure the wood battens onto the wall, ensuring they are level, with spacing between them of 400-600mm.
-
Step 2: Insert fiberglass acoustic wool between the wood battens for sound absorption.
-
Step 3: Attach the perforated acoustic panels to the battens using gun nails, and place the wooden slats into the side grooves.
-
Step 4: Continue the process, maintaining a 3-5mm gap between panels. Nails should be placed along the edges of the panels.
-
Step 5: Finalize the installation and ensure everything is in place.
Suspended Ceiling Installation System:
Method A: Exposed Ceiling SC-E
-
Step 1: Fix the L-hanger using a suspension rod and T-type main tee, then clip in the cross tee and secure the corners.
-
Step 2: Proceed with the installation of the exposed ceiling.
-
Step 3: Complete the installation.
Method B: Tegular Ceiling SC-T
-
Step 1: Attach the L-hanger to the suspension rod, followed by the T-type main tee, cross tee, and corners.
-
Step 2: Install the tegular ceiling panels.
-
Step 3: Finish the installation.
Method C: Concealed Ceiling SC-C
-
Step 1: Fix the L-hanger with suspension rods and main tee, then clip in the cross tee and secure the corners.
-
Step 2: Install the concealed ceiling panels.
-
Step 3: Complete the installation process.


