


All Products
-
Acoustic Wood Panels
-
Acoustic Wood Slat Panels
-
Perforated Acoustic Wood Panels
-
Micro Perforated Acoustic Panels
-
Grooved Acoustic Panels
-
Art Acoustic Panels
-
Acoustic Wood Ceiling Panels
-
3D Decorative Wall Panels
-
Laminate Wall Panels
-
Fabric Acoustic Panels
-
Wood Acoustic Diffuser Panels
-
Polyester Acoustic Panels
-
Sound Proof Mat
-
Acoustic Booth
-
Acoustic Wood Wool Panels
Micro-perforated Acoustic Panel Elegant Solution for Noise Reduction


| Place of Origin | Guangzhou,china |
|---|---|
| Brand Name | WINEGO |
| Certification | CE,FSC,France A+ |
| Model Number | PAV2.2/0.5-12/15 |
| Minimum Order Quantity | 100 SQM |
| Packaging Details | W230m*L2430mm*T130mm,27.75kg per pack.LOGO service for big order |
| Delivery Time | 2 weeks |
| Payment Terms | TT :50% deposit Balance before shipment |
| Supply Ability | 10000sqm per week |
Product Details
| Sound Absorption | 0.8 NRC | Material | MDF |
|---|---|---|---|
| Size | W600/1200*L600/1200/2400*T15/18mm | Finish | Veneer/Melamine/HPL Fire-proof/PU Paint |
| Type | Acoustic Panel | Packing | Carton |
| Acoustic Performance | Highly Effective | Application | Auditorium, Conference Room, Recording Studio, Home Theater |
| Highlight | Elegant Solution Micro-perforated Acoustic Panel,Noise Reduction Micro-perforated Acoustic Panel,Micro-perforated Acoustic Panel |
||
Product Description
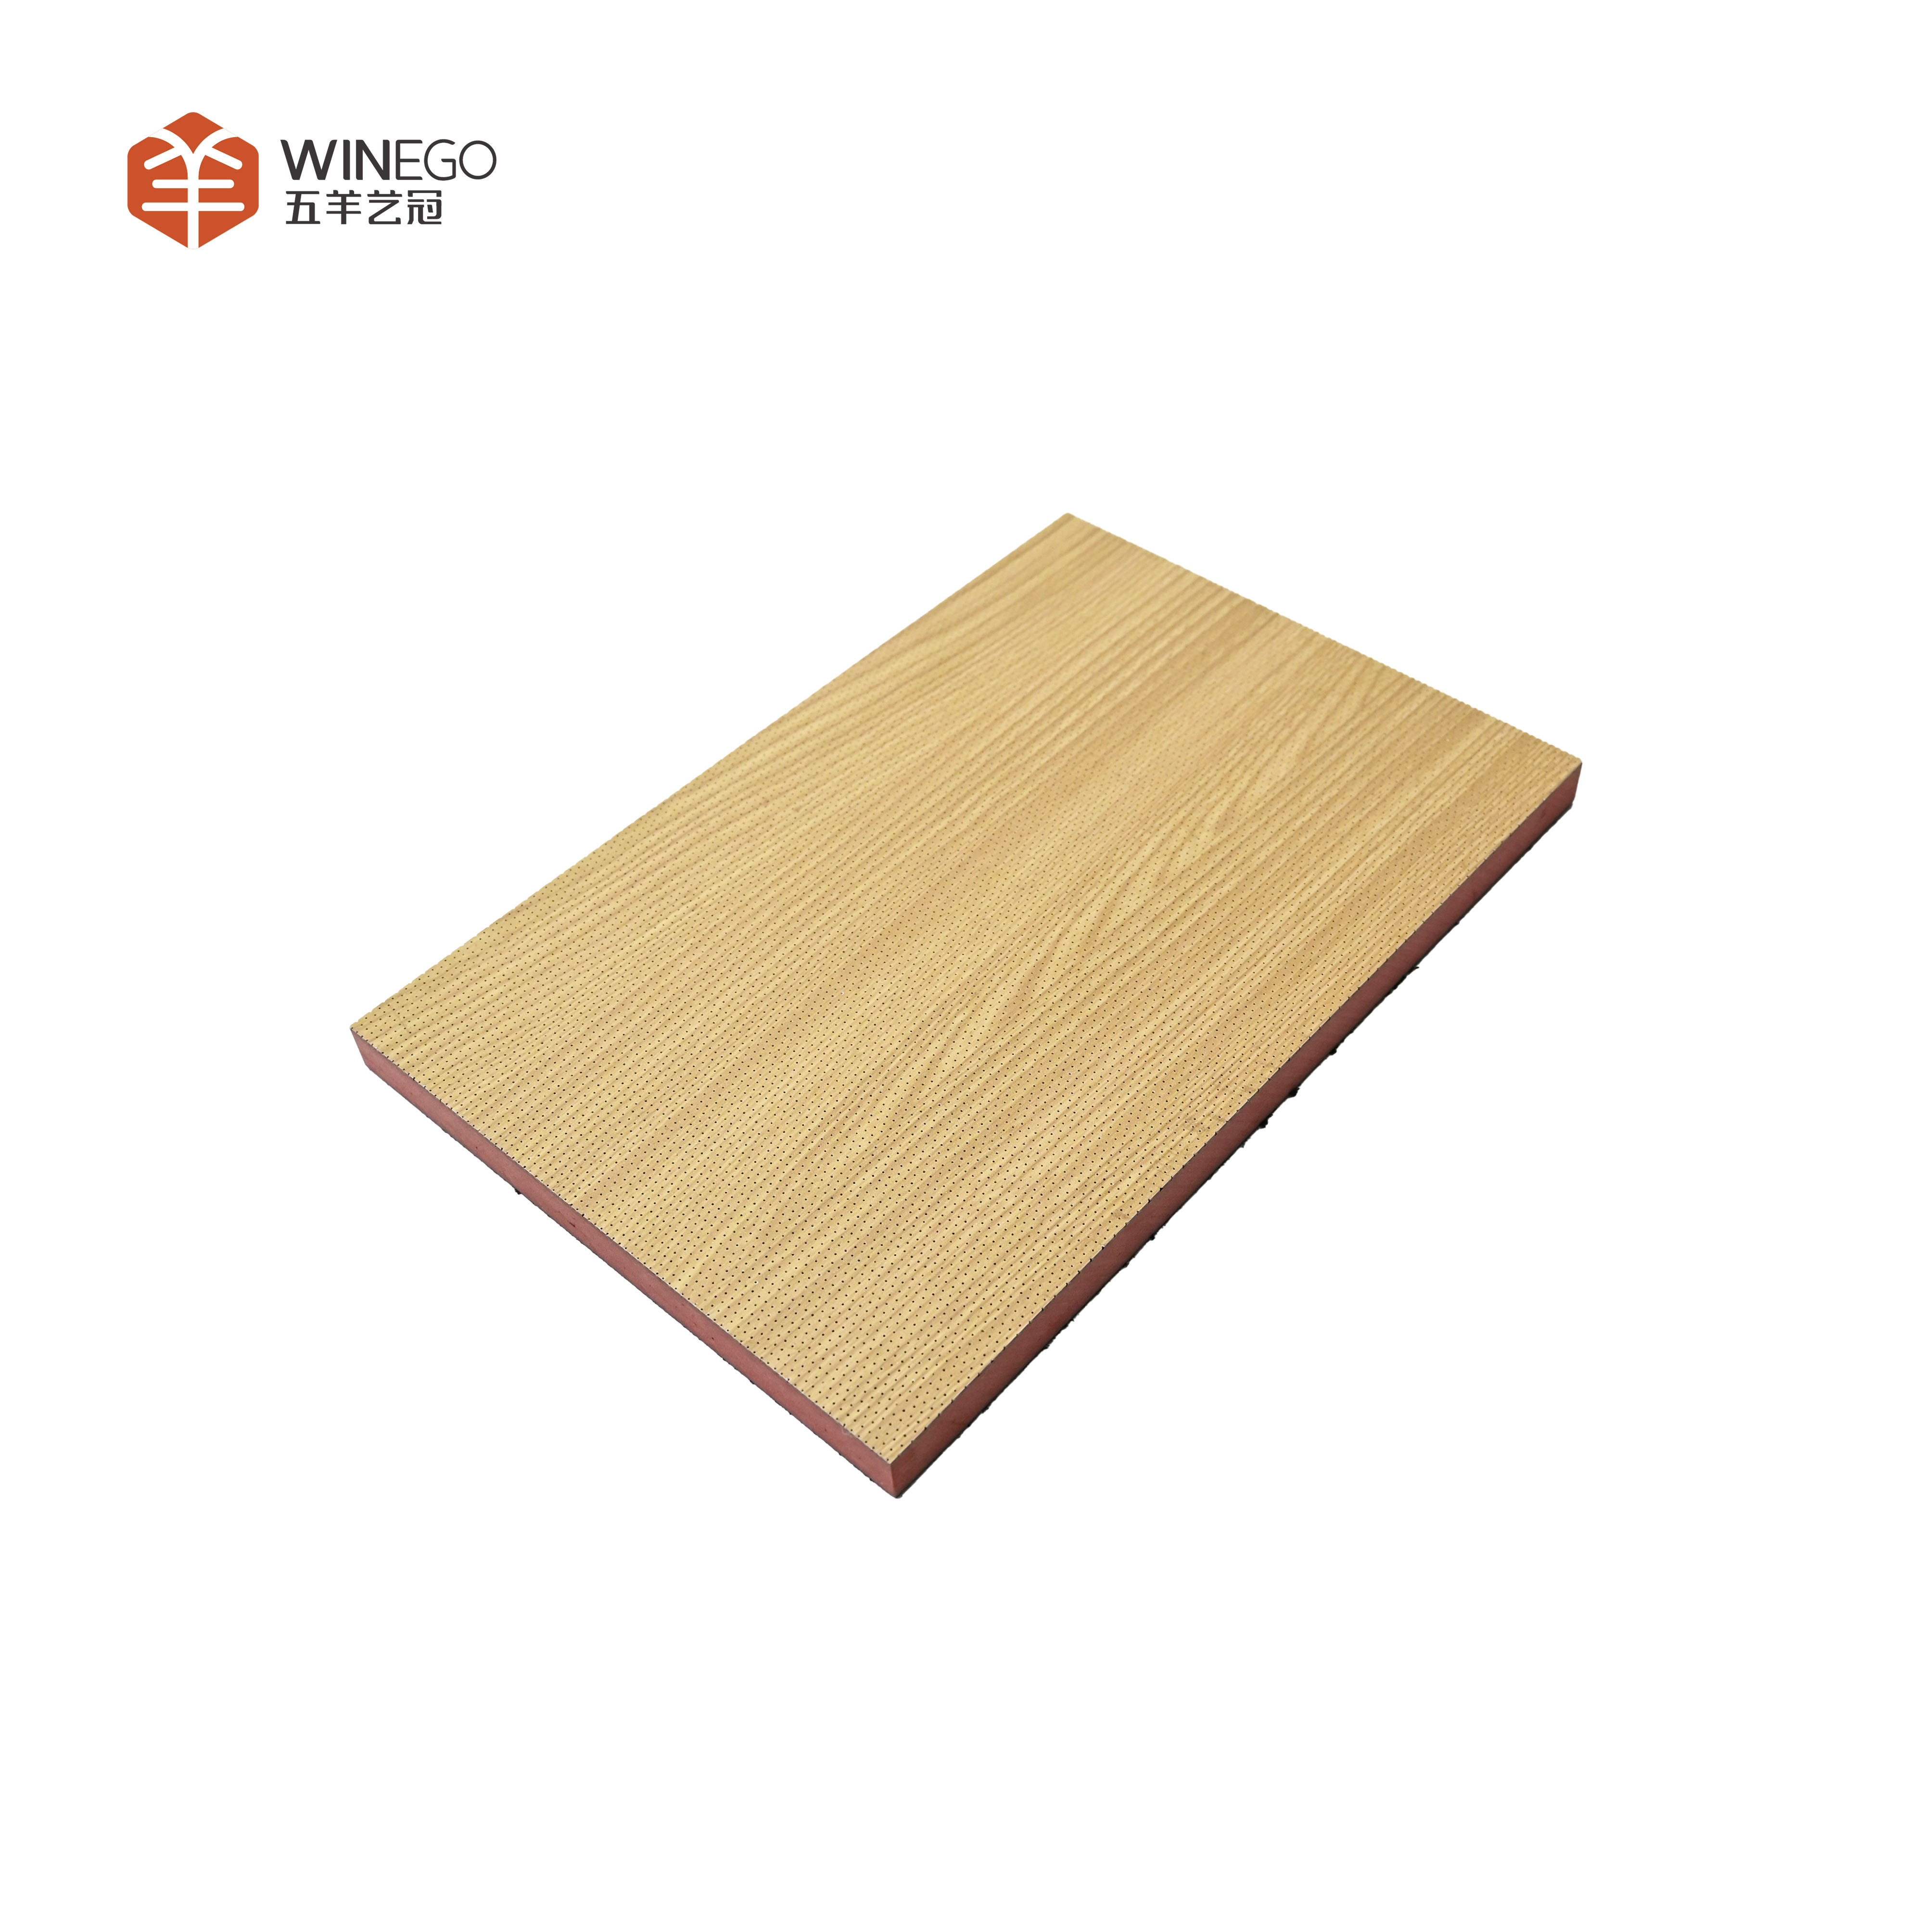
Micro-perforated Acoustic Panel Elegant Solution for Noise Reduction
Description:
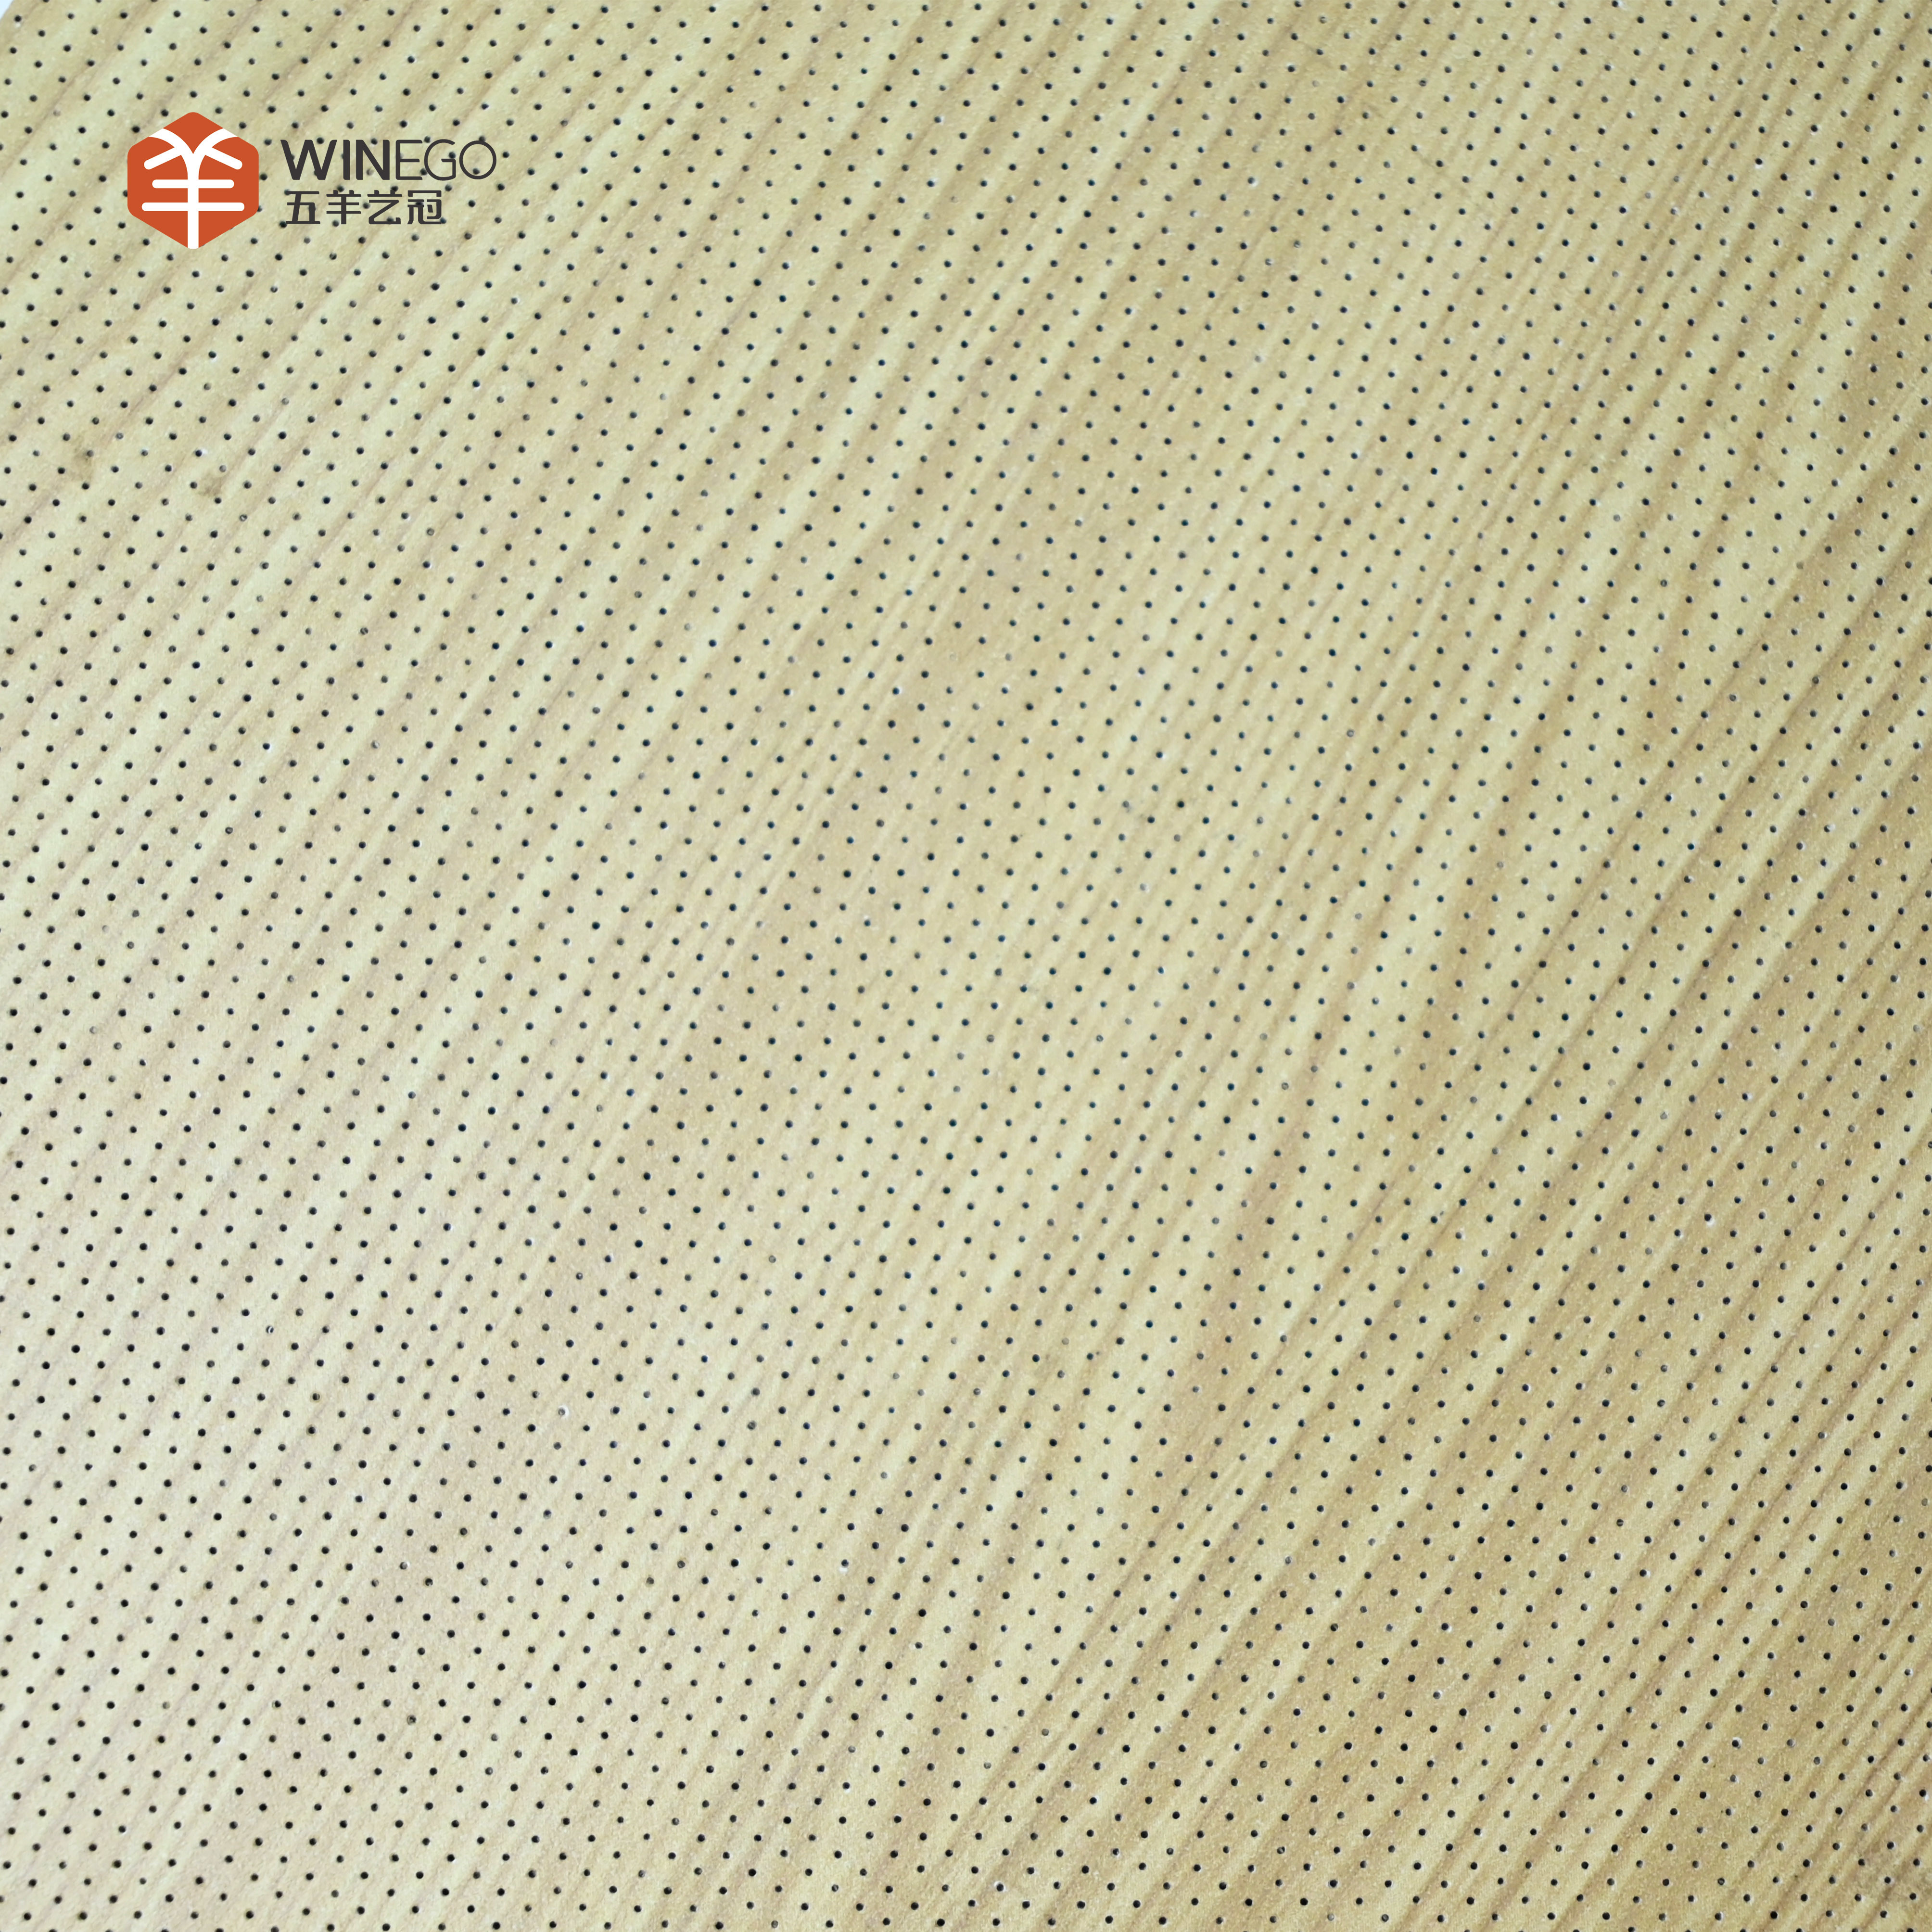
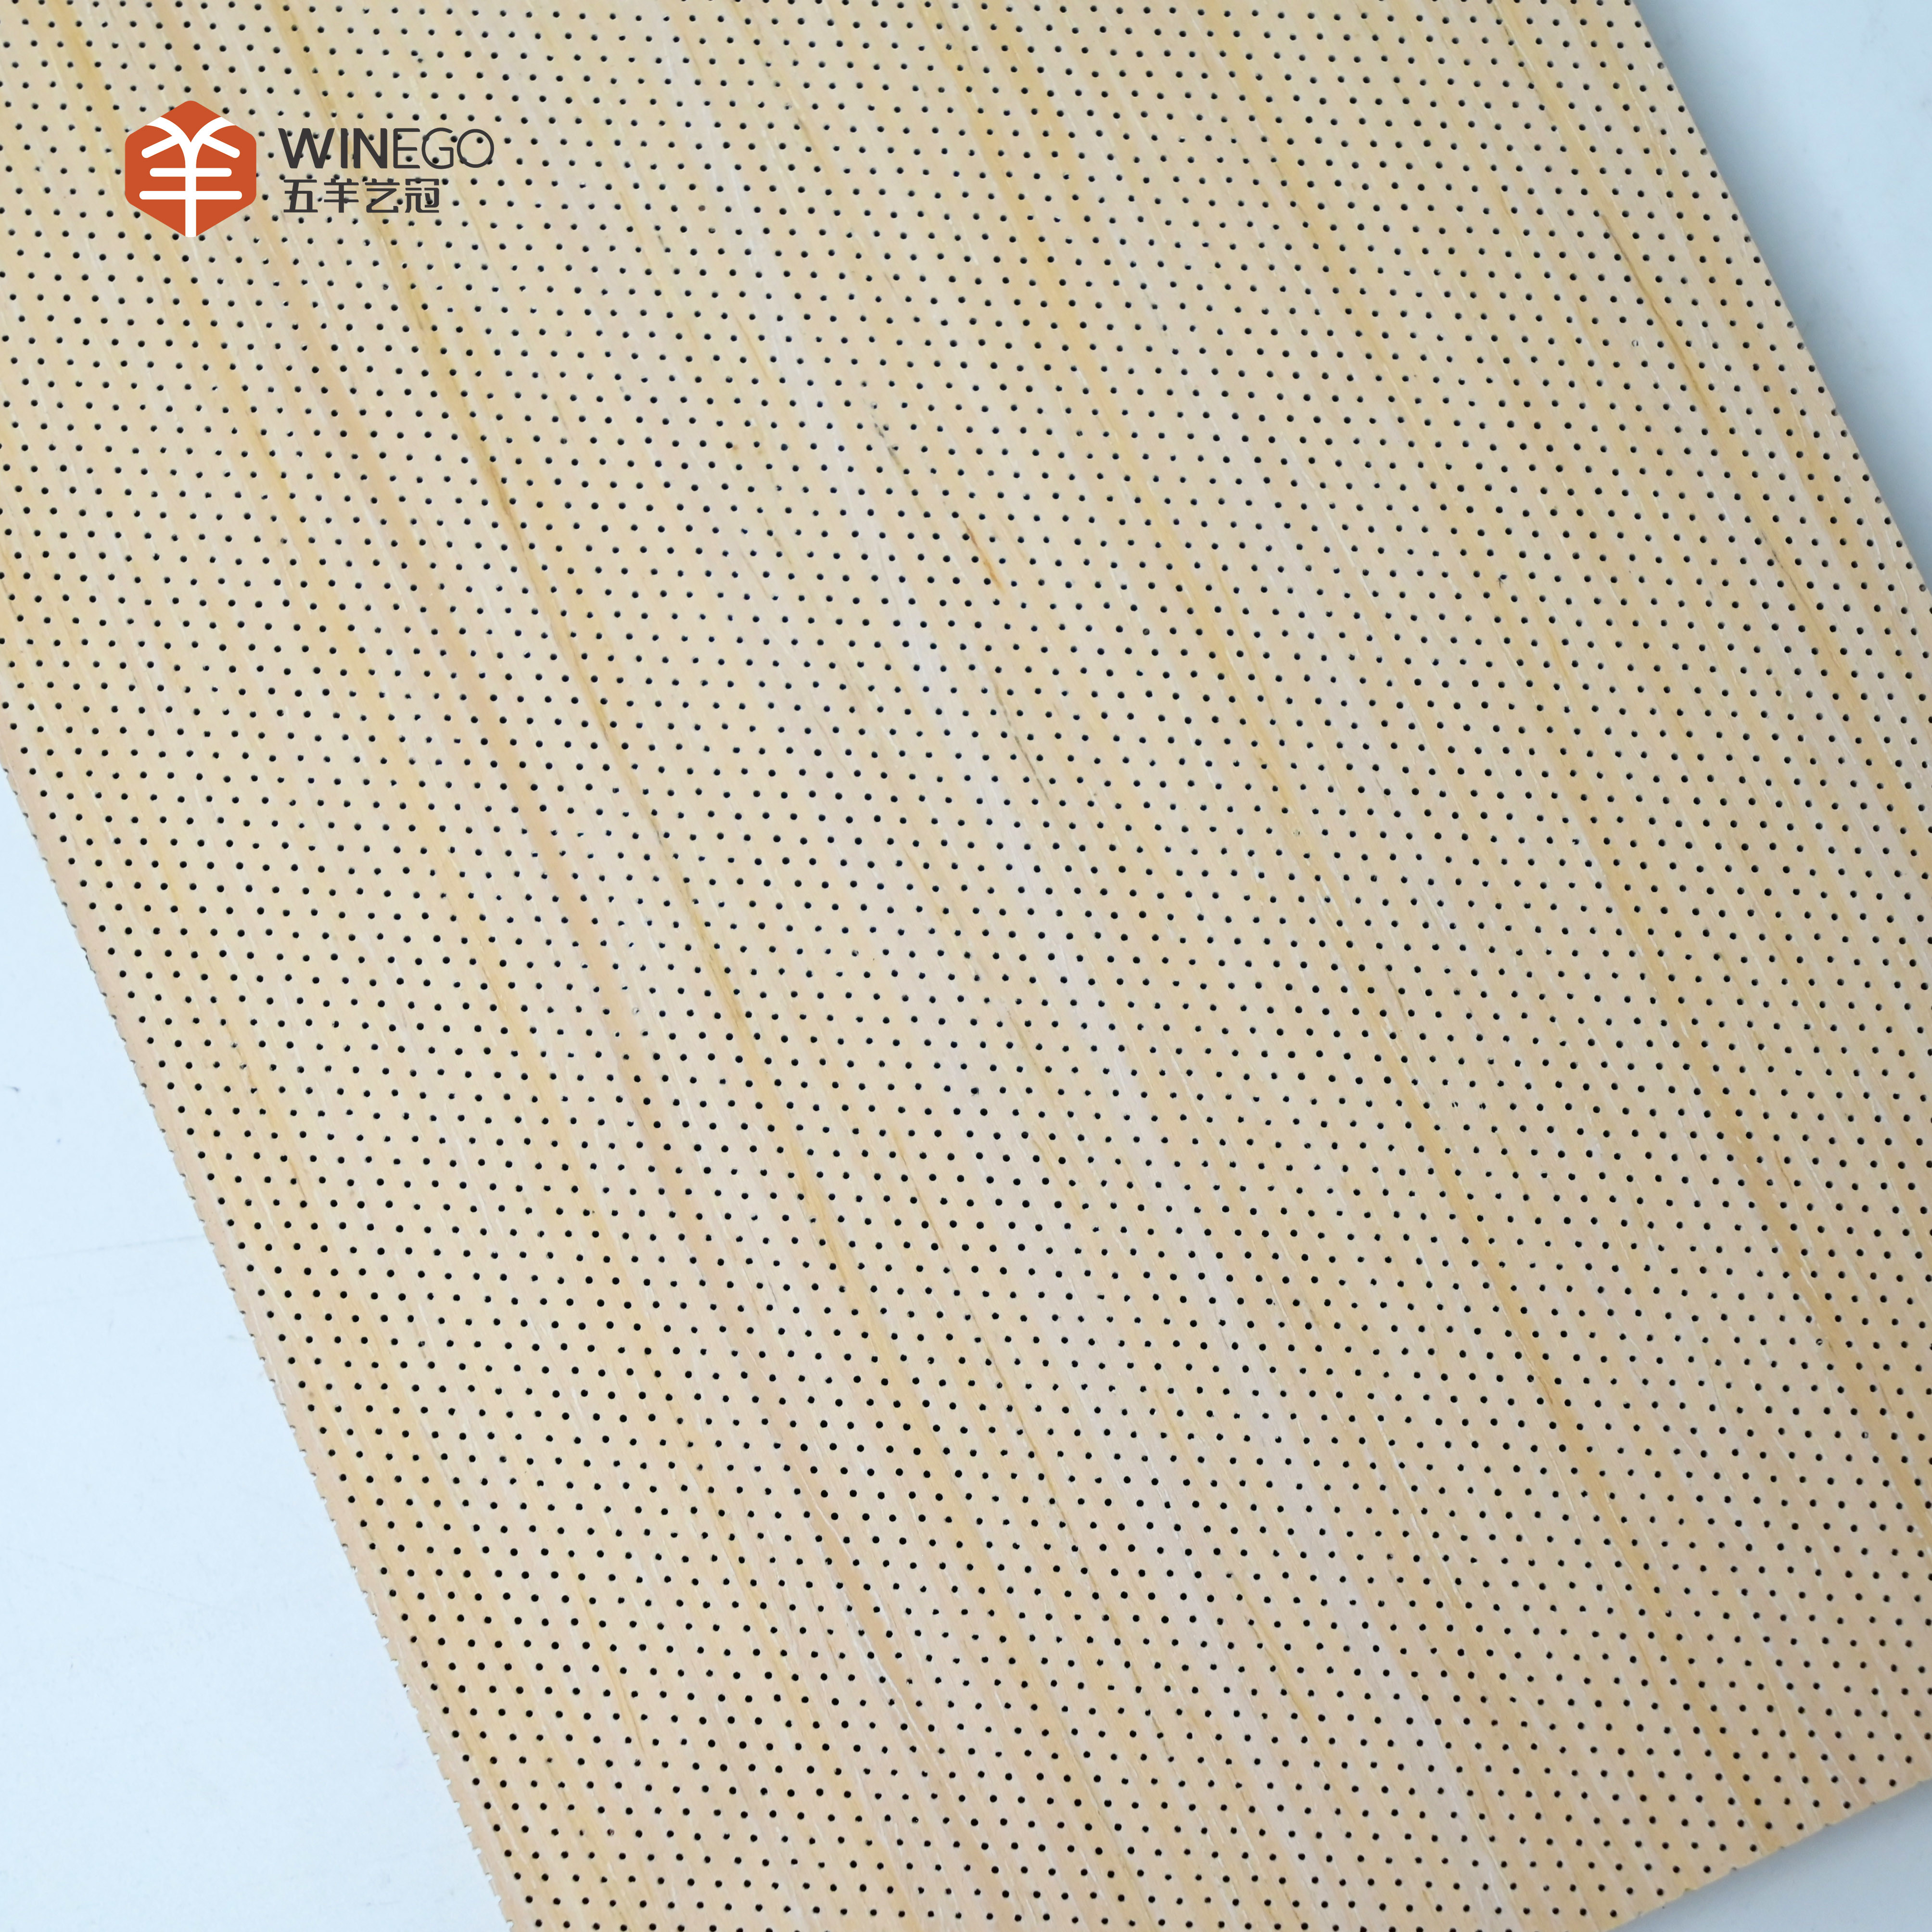
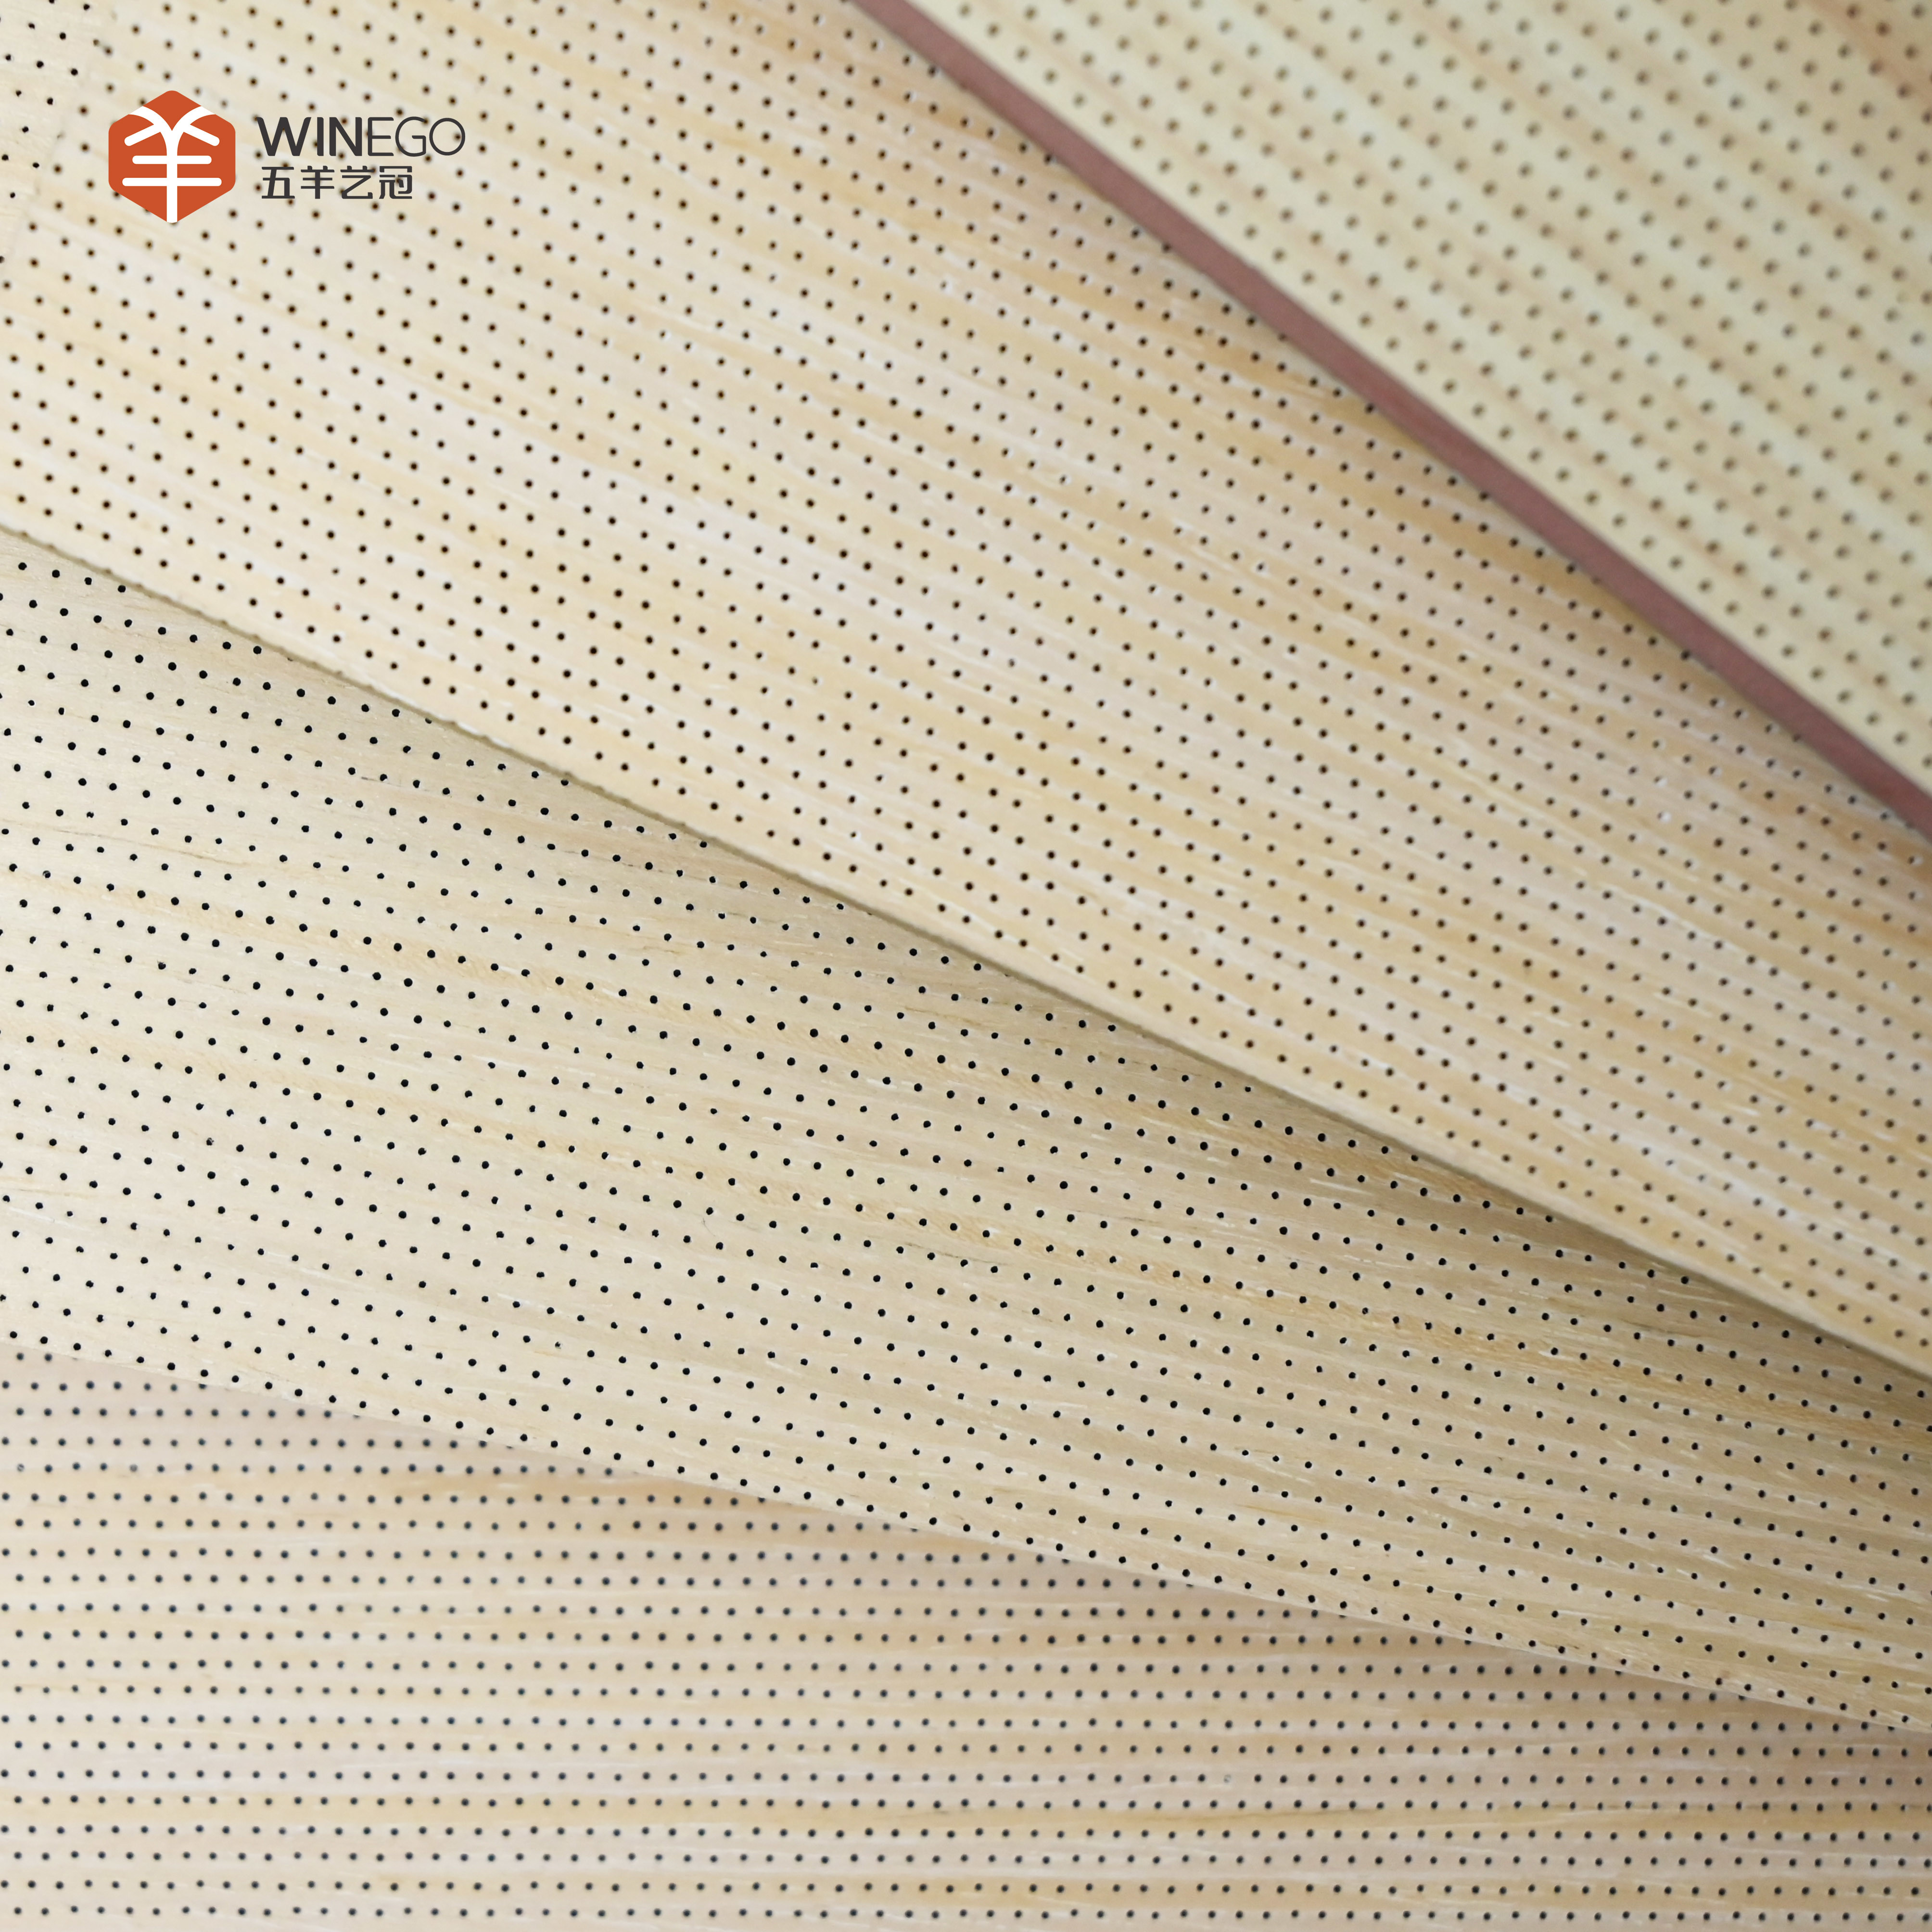
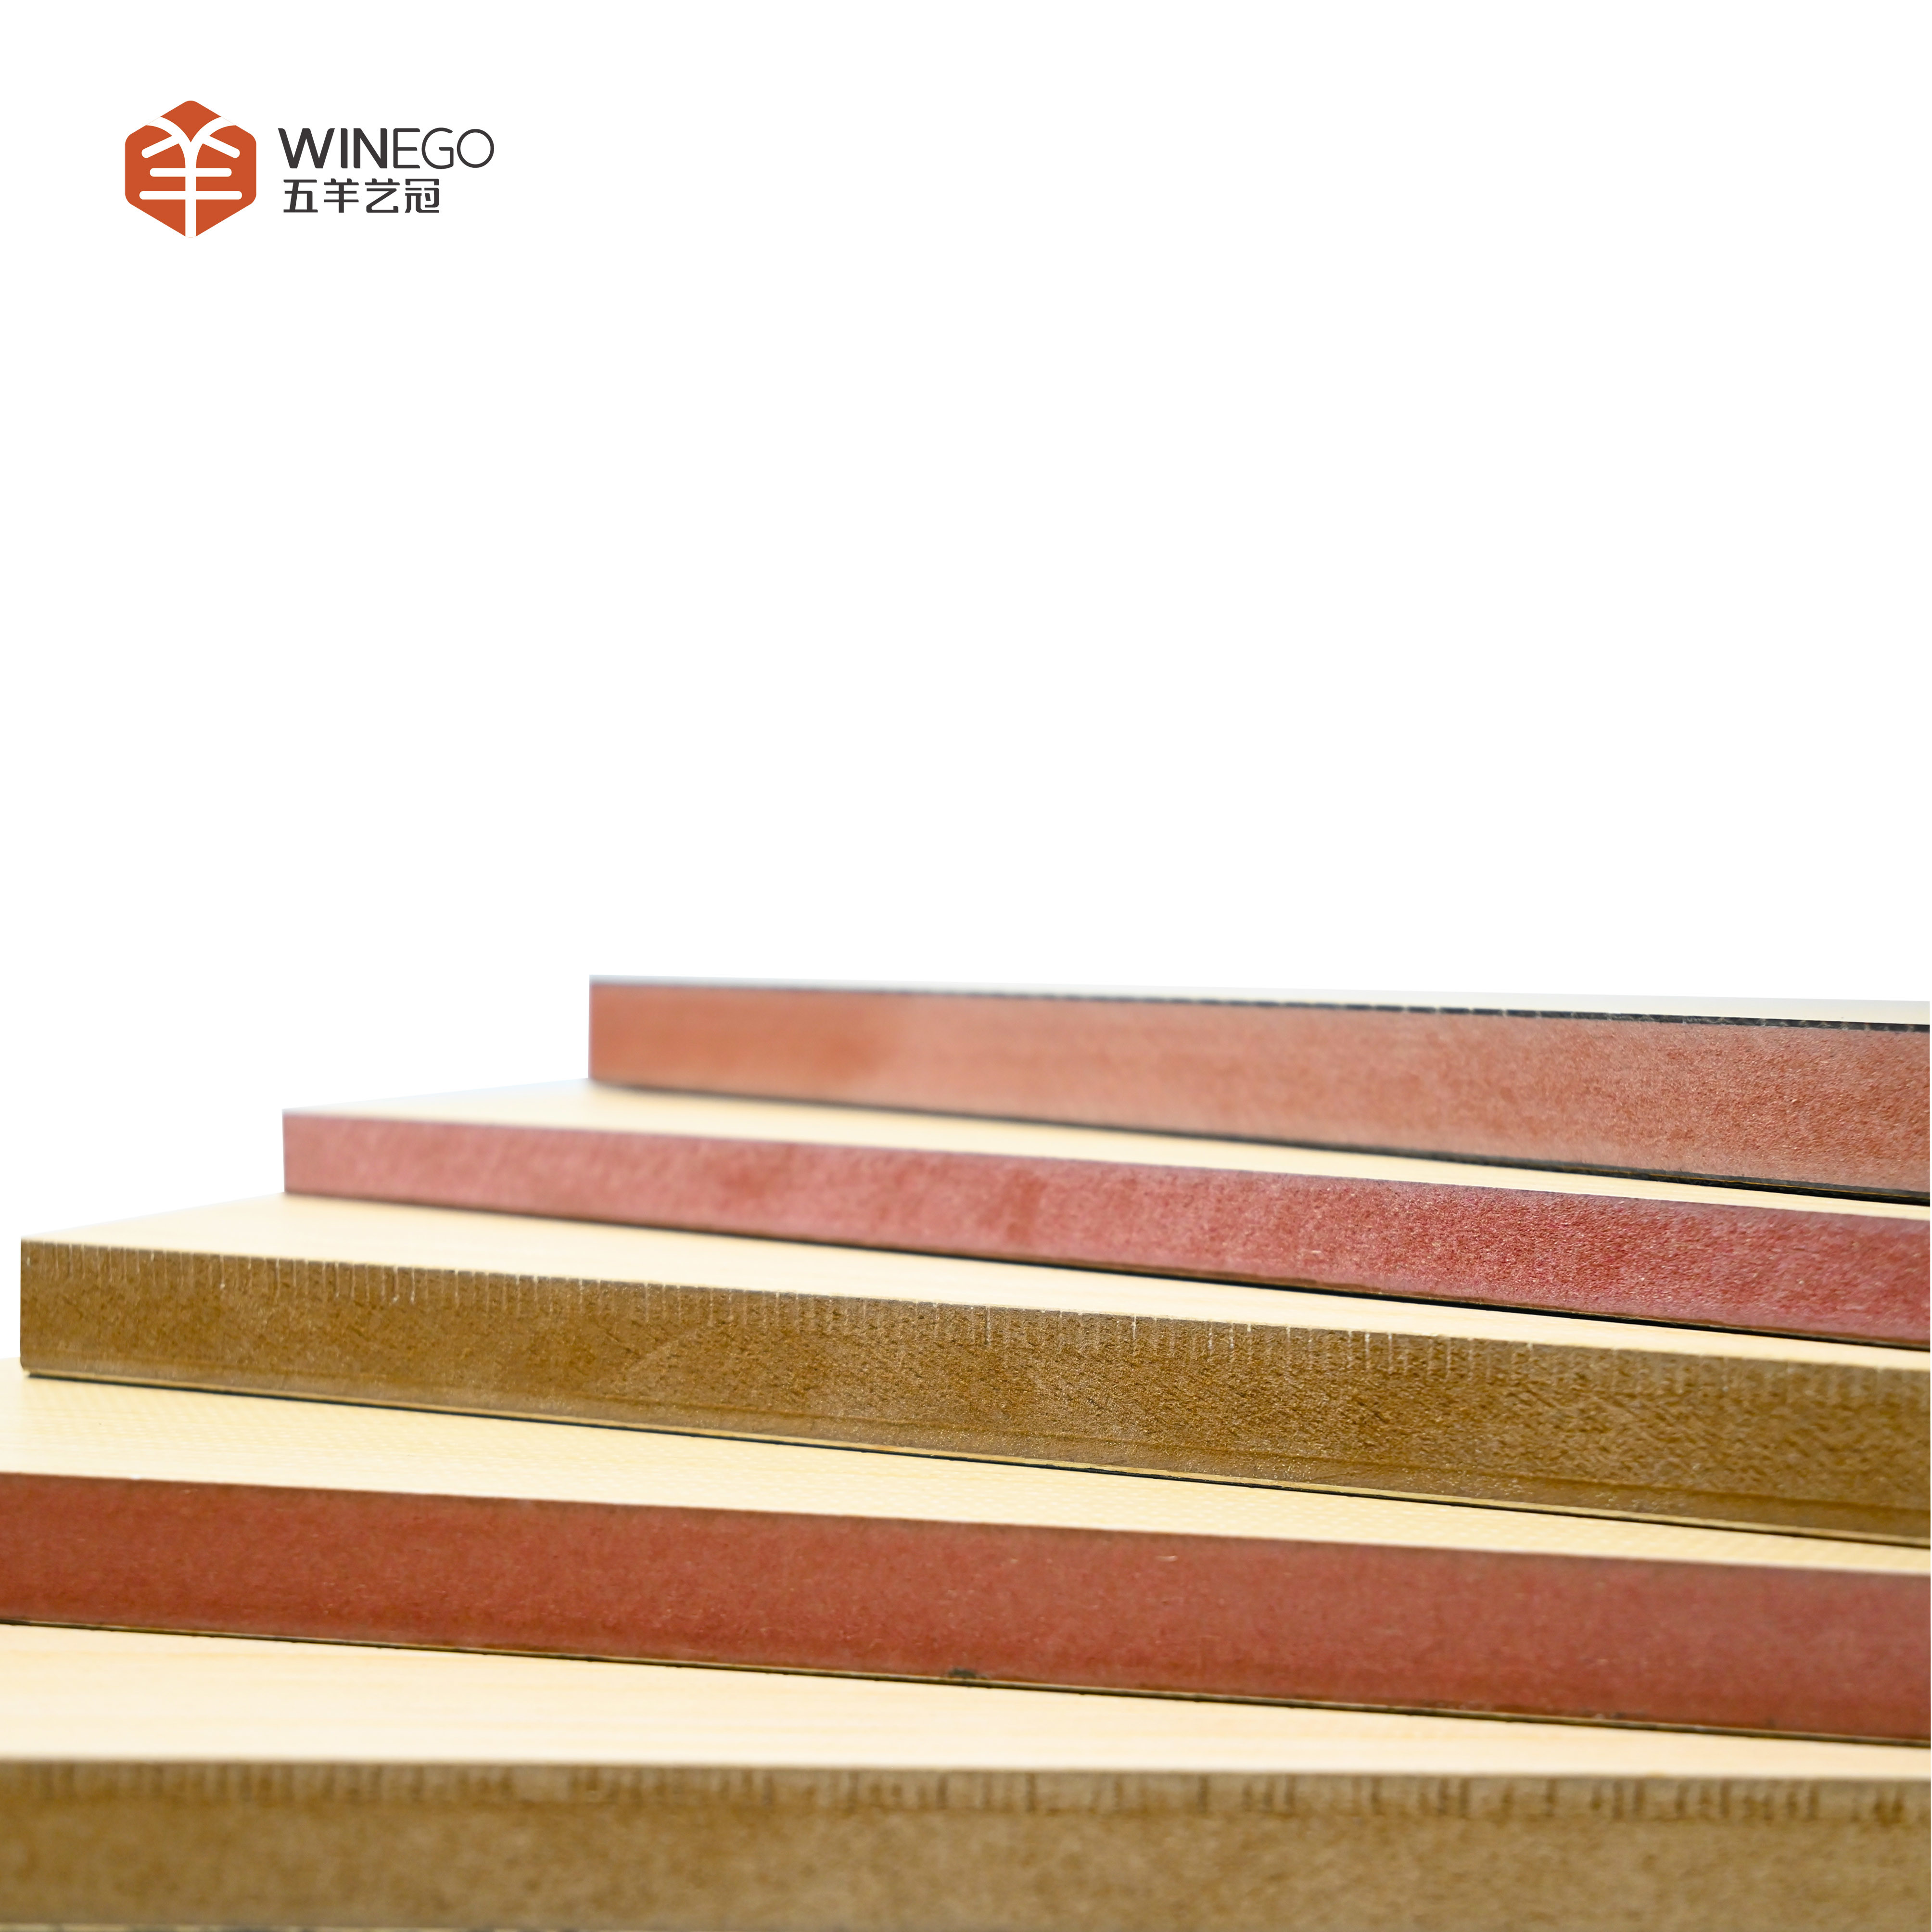
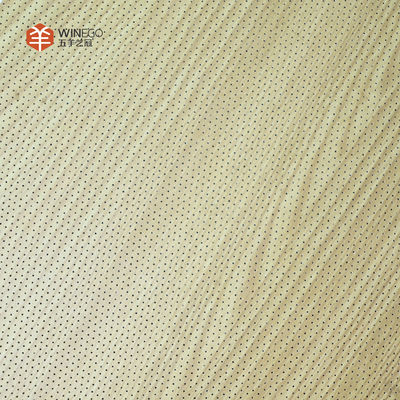
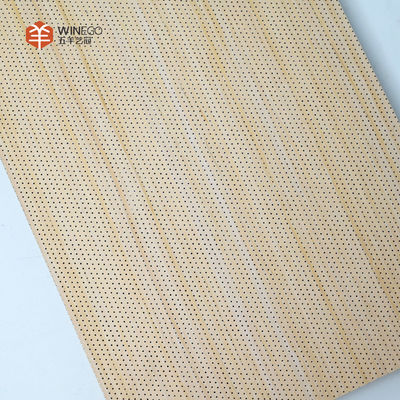
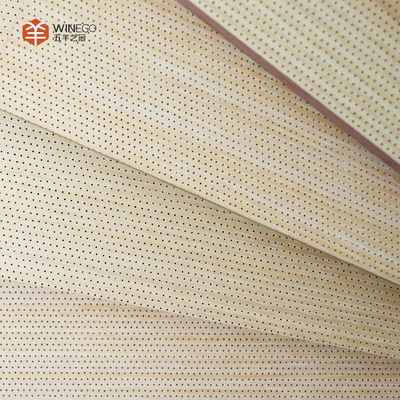
The micro-perforated acoustic panel offers a high-performance acoustic solution that merges practicality with stylish aesthetics. Featuring front-facing micro holes (0.4 to 1mm) and rear perforations, it functions as a Helmholtz resonance system, effectively reducing noise in medium to low frequencies. Constructed from durable high-density board, it comes in a range of finishes to meet different design requirements. Ideal for applications in both residential and commercial spaces, this panel creates a calm and visually appealing environment. Its eco-conscious design and fire-resistant properties make it particularly suitable for contemporary sustainable projects. Whether enhancing a cozy home atmosphere or refining acoustics in a dynamic office, this panel ensures top-notch sound control and aesthetic harmony.
Feature:
Effective Sound Absorption: Helmholtz resonance system for superior noise control.
Elegant Finishes: Multiple options to enhance any decor.
Eco-Friendly: Safe and sustainable materials.
Durable Construction: Built to withstand physical impact.
Versatile Application: Suitable for walls and ceilings.
Specifications:
| NAME | Super Micro-Perforated Acoustic Panel |
| FINISH | Veneer/Melamine/HPL fire-proof |
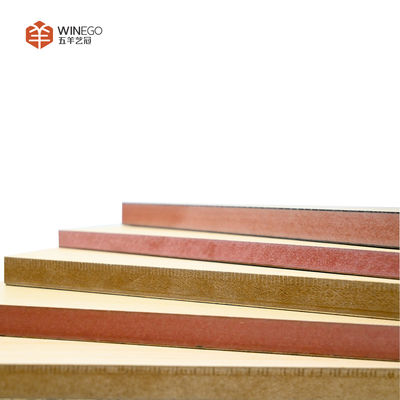
| BASE MATERIALS | MDF/A grade MGO/Solid wood |
| MODEL |
PAV2.2/0.5-12/15 |
| Size |
W590/1200*L590/1200/2420*T15/18mm |
| environmental protection | E1 |
| warranty | 2 years |
| INSTALL | Keel/Nail gun |
| MIN.ORDER | 100 SQM |
| PACKAGE DETAILS |
W200mm*L2400mm*T 15mm: 6 pieces per pack,the size of the single package is W230m*L2430mm*T130mm,27.75kg per pack. W1200mm*L1200mm*T 15mm: 4 pieces per pack,the size of the single package is W1225mm*L1225mm*T100mm,48.8kg per pack. LOGO service for big order |
| Delivery time | 2 weeks |
| Original place | Guangzhou,china |
| Payment term |
TT :50% deposit |
| Additional service | OEM |
| NRC | 0.8 |
| Certificate | CE,FSC,France A+ |
| Brand | WINEGO |
| Project Solution Capability | Project Design,3D model design,Graphic design,Material Production,Shipping and Deliver |
| Design Style | Modern |
| After-sale Service | Online technical support,Return and Replacement,Installation Instruction |
![]()
![]()
![]()
![]()
![]()
![]()
Wall Installation Process:
Wood Batten Wall System Installation
Step 1: Install the wood battens securely on the wall, ensuring they are perfectly level. The spacing between battens should be maintained between 400-600mm.
Step 2: Fill the gaps between the battens with fiberglass acoustic wool to improve soundproofing.
Step 3: Fix the perforated acoustic panels onto the battens using a nail gun and insert the wooden slats into the grooves along the sides.
Step 4: Continue with the installation while leaving a 3-5mm gap between adjacent panels. Nail placement should be along the edges.
Step 5: Inspect the installation to ensure stability and proper alignment.
Suspended Ceiling System Installation Options
Method A: Exposed Ceiling SC-E
-
Mount the L-hanger on the suspension rod and fix the T-type main tee. Clip the cross tee in place and secure the corners.
-
Proceed with the exposed ceiling installation.
-
Inspect and finalize the ceiling installation.
Method B: Tegular Ceiling SC-T
-
Attach the L-hanger to the suspension rod, secure the T-type main tee, and insert the cross tee, ensuring the corners are locked.
-
Fit the tegular ceiling panels into position.
-
Complete and review the installation.
Method C: Concealed Ceiling SC-C
-
Fix the L-hanger with suspension rods, install the main tee, and clip the cross tee securely in place while reinforcing the corners.
-
Carefully place the concealed ceiling panels.
-
Finish and inspect the final result.
Recommended Products